


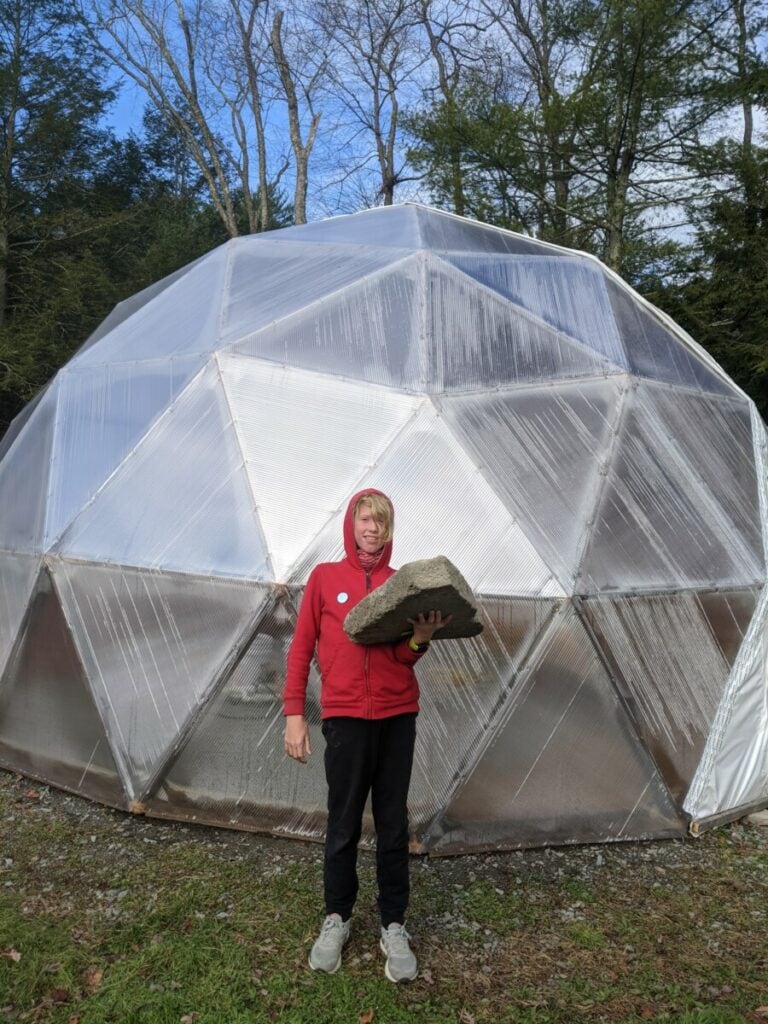
From Concept to Completion: Middle School Students’ Experimental Dome a Great Success
A History of the Green Building Lab Dome Project as Told by the Middle School Students
Cover photo by Randy Harris
Keep reading for an amazing tour of the project and a Time-lapse video!
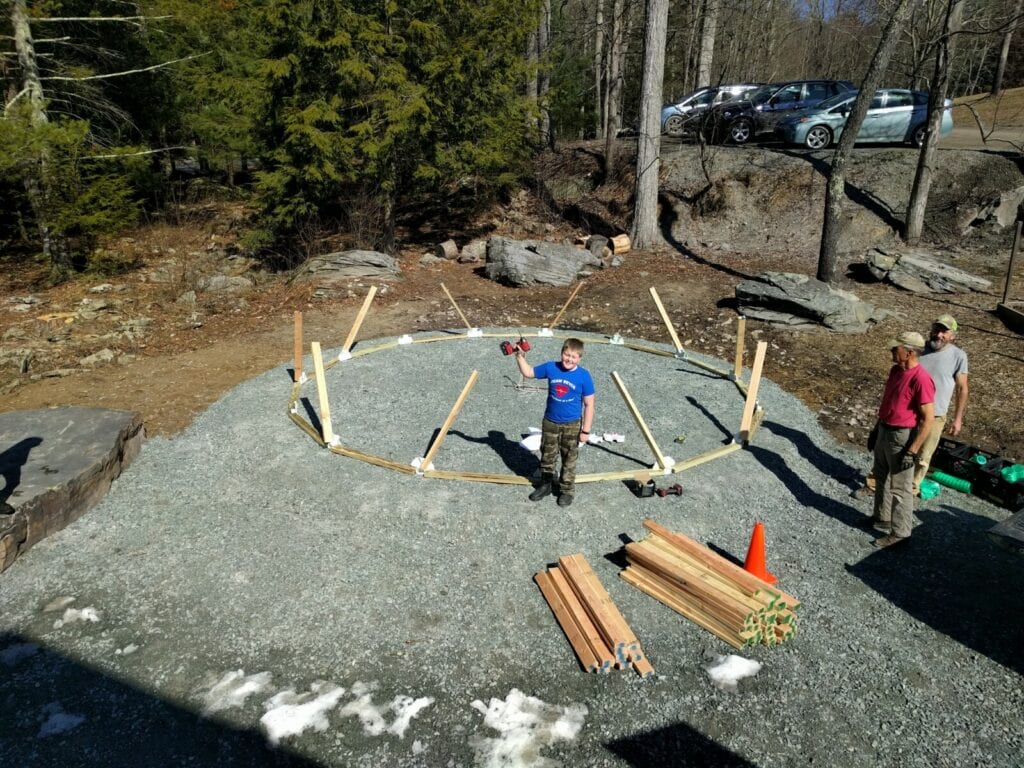
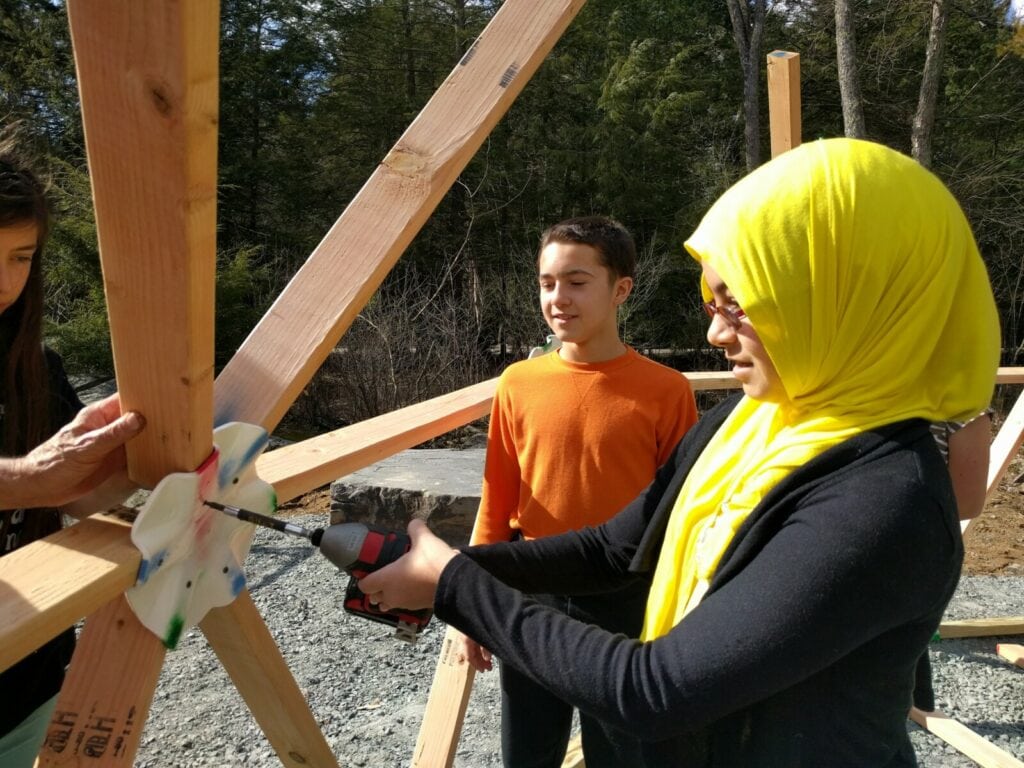
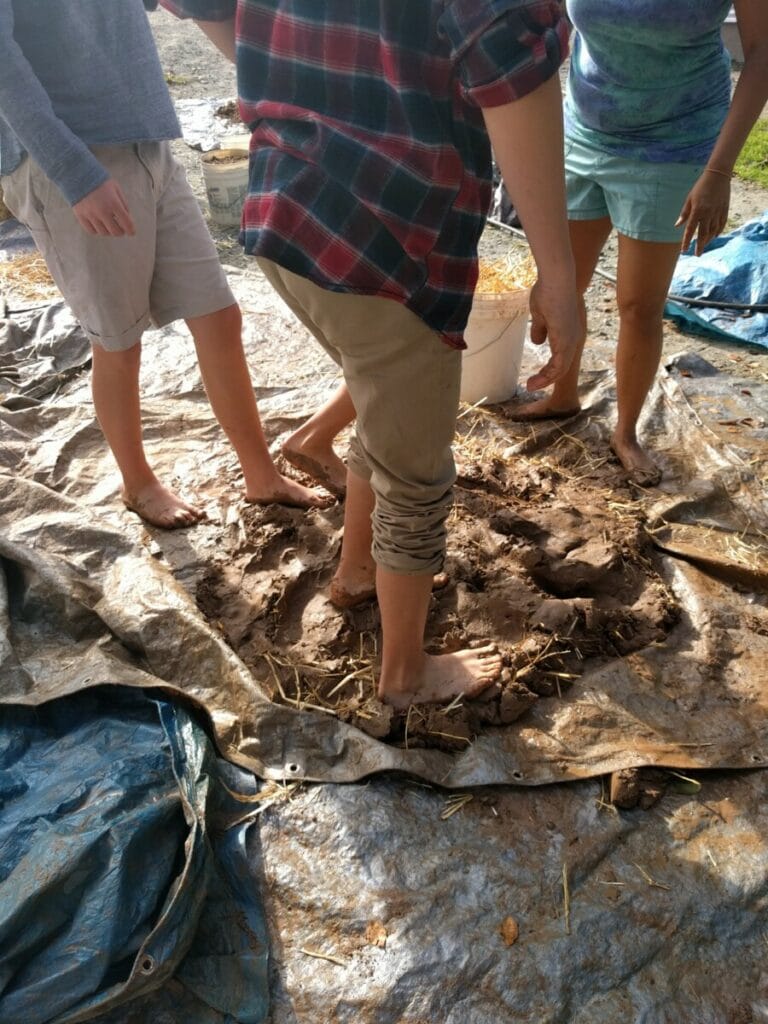
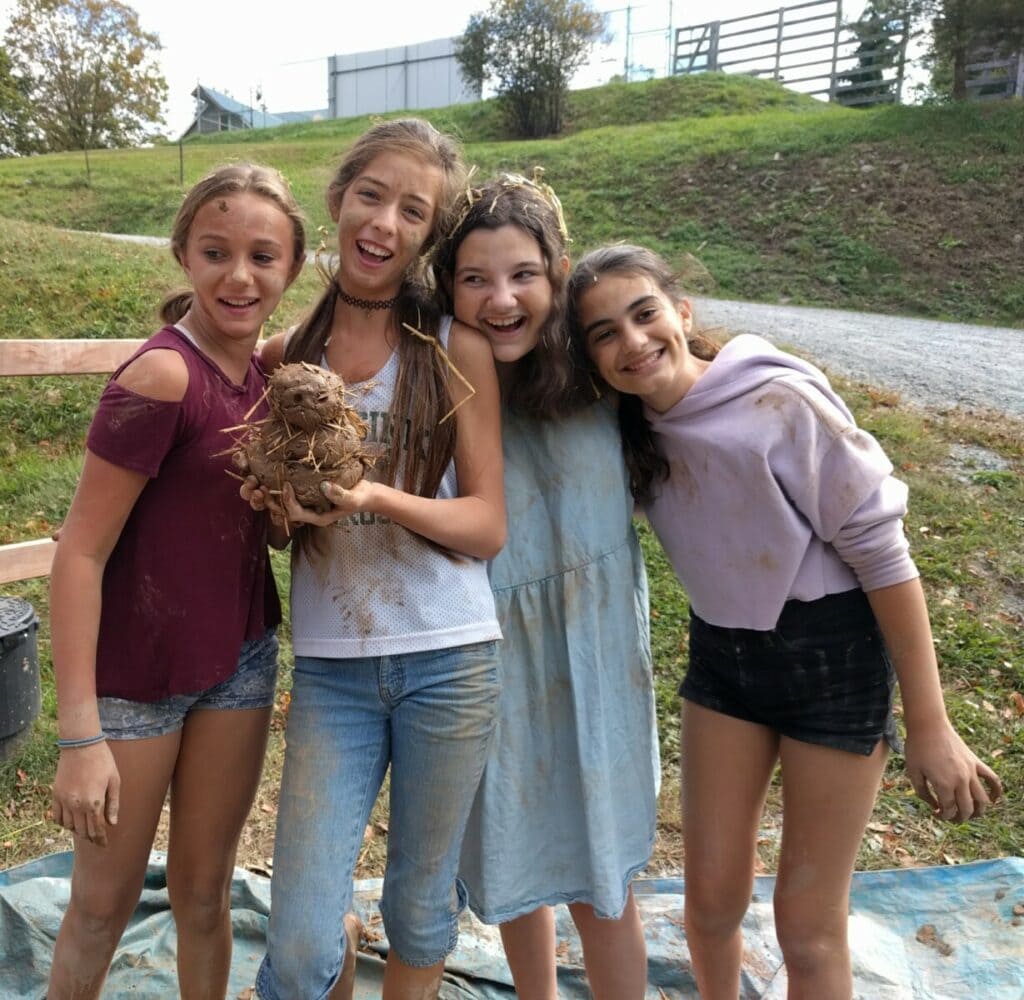
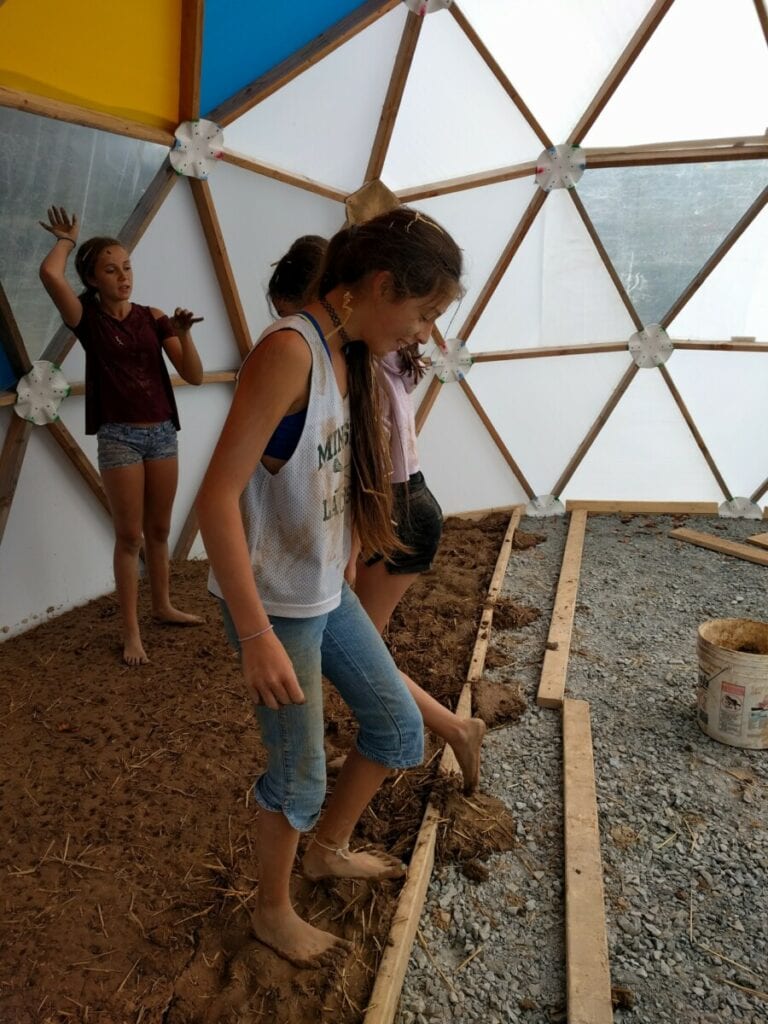
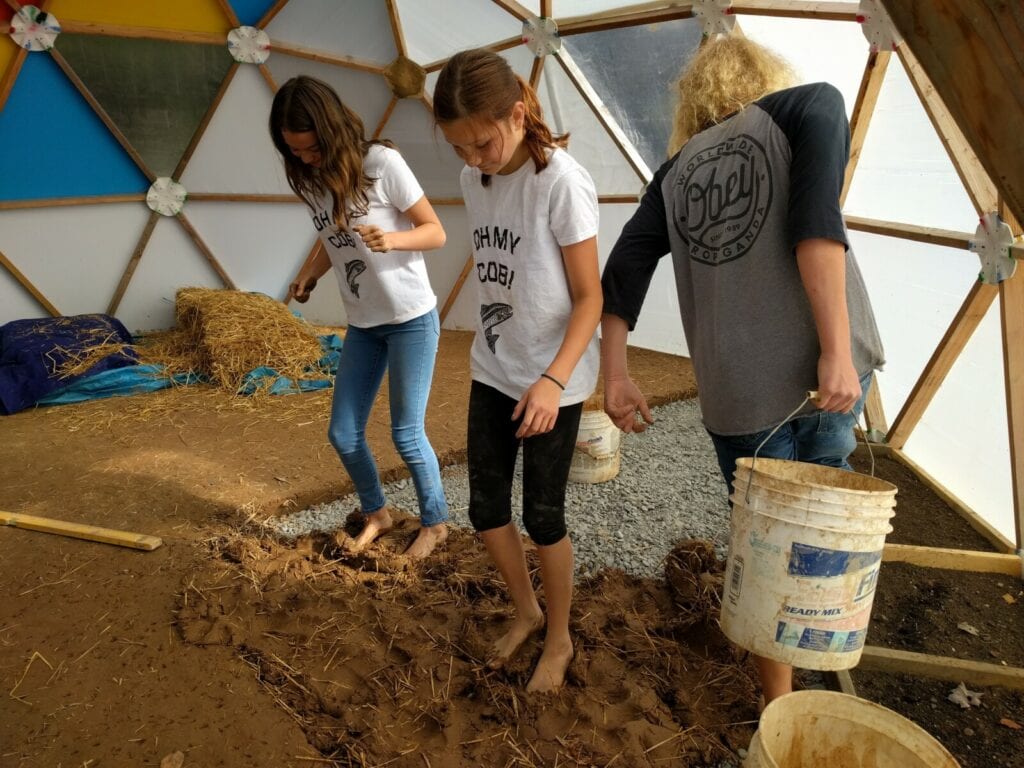
Colin & Sindhu: This project began when the 7th and 8th graders of 2015 were working with their teacher, Jack Comstock, on the beginnings of the dome. Back then this dome was not much more than an experiment and an opportunity for community service. The students wanted to know how much it would cost for them to build a basic geodesic dome. Using a simple hub kit they sourced the 2×4 struts and the materials for covering the dome. The following year they decided to experiment with cob building, and with clay, sand, straw, and lots of stomping they made a floor. With time the original covering to the dome needed replacing.

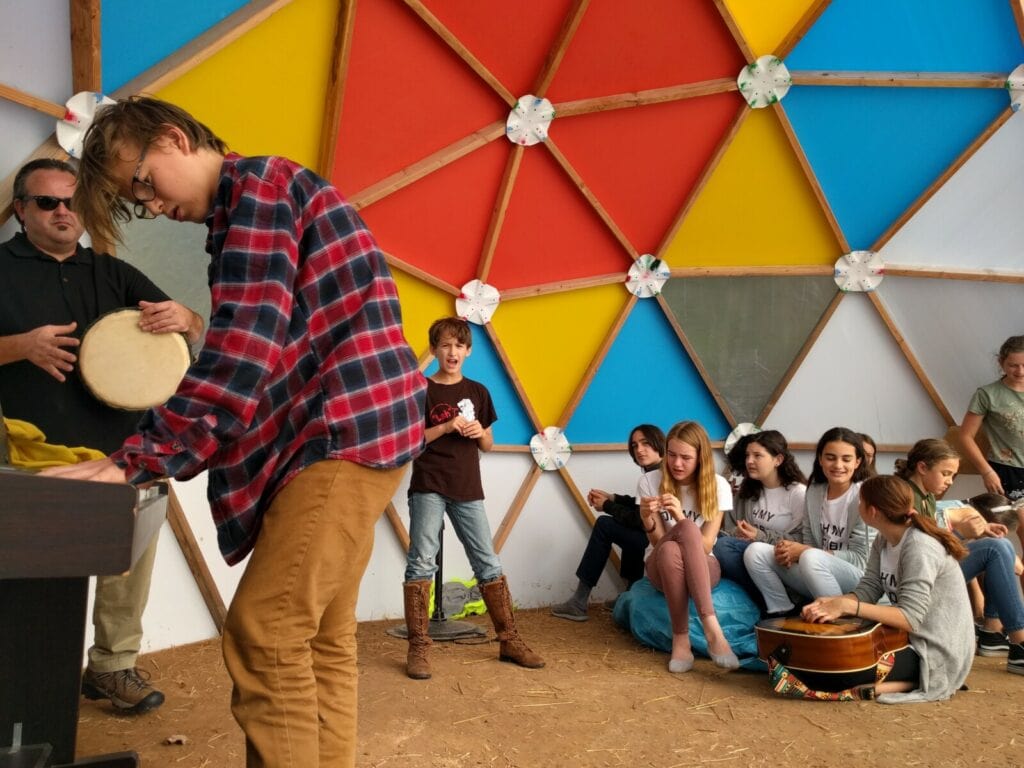
In 2018, students were assigned to make the most creative floor plans for additions to the dome. The Friends of the Homestead School had just received a Climate Lab Grant from Catskill Mountainkeeper and The Center For Discovery, so the funds to move forward with these plans were available. Students worked on designs for a rocket stove that would heat a cob bench, a raised garden bed, and using aircrete as a building material. We even looked at building a ferrocement pond for an aquaponics system.
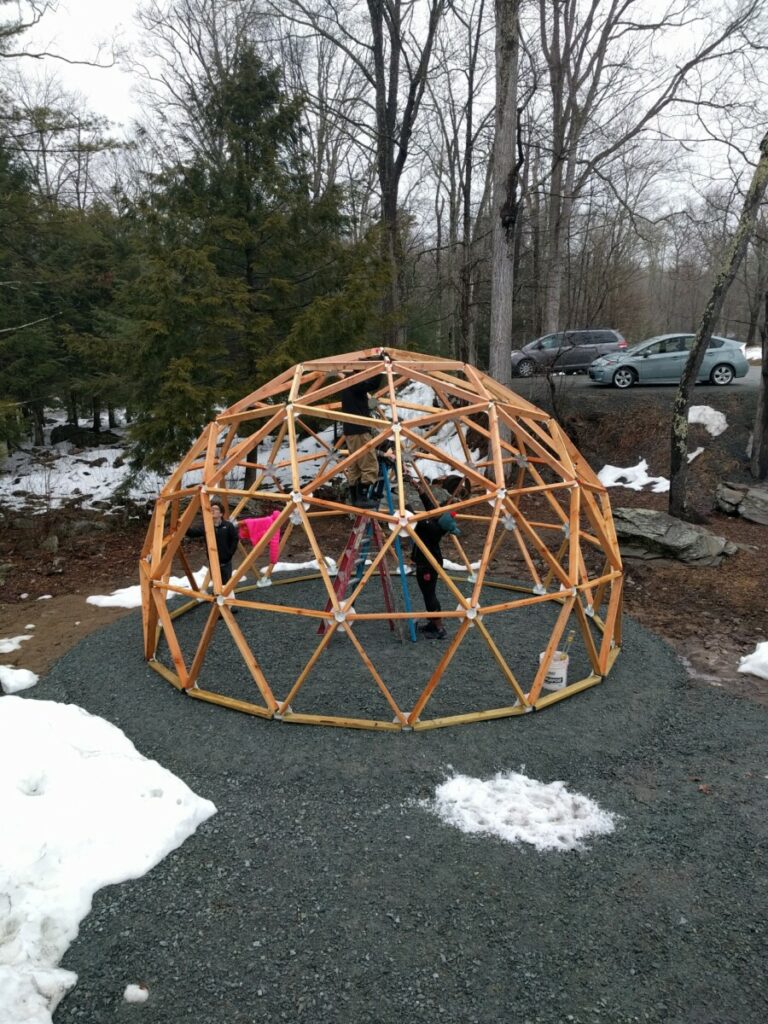
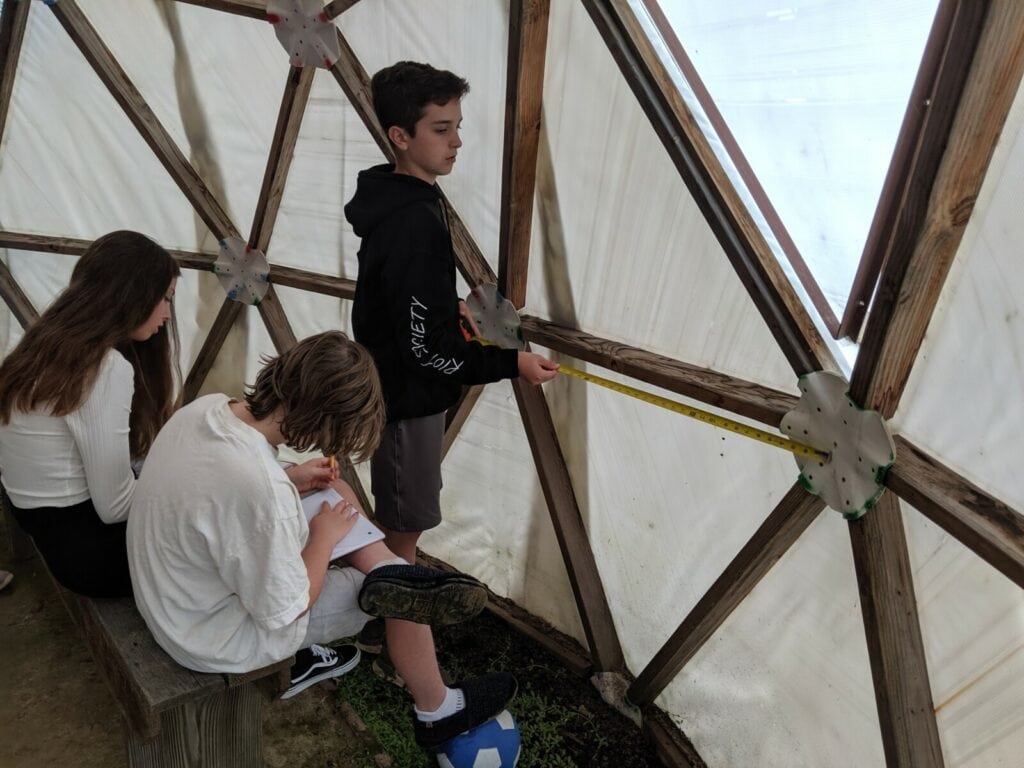
Jason: To find the amount of materials needed to renovate the dome, it was necessary to find the dome’s surface area, as we were to completely change the surface. The dome’s surface was made up of triangles. There were multiple lengths that the sides of the triangle could be, there were red, blue, and green lengths, each marked on the hubcaps where the wood 2x4s met. We went out to the dome to measure the length and width of each triangle. After finding the area of each triangle, we added up each area to find the surface area. The final area was 571.3125 sq.ft. From there we would have to estimate how much cement and lime plaster would be required to cover the interior wall.
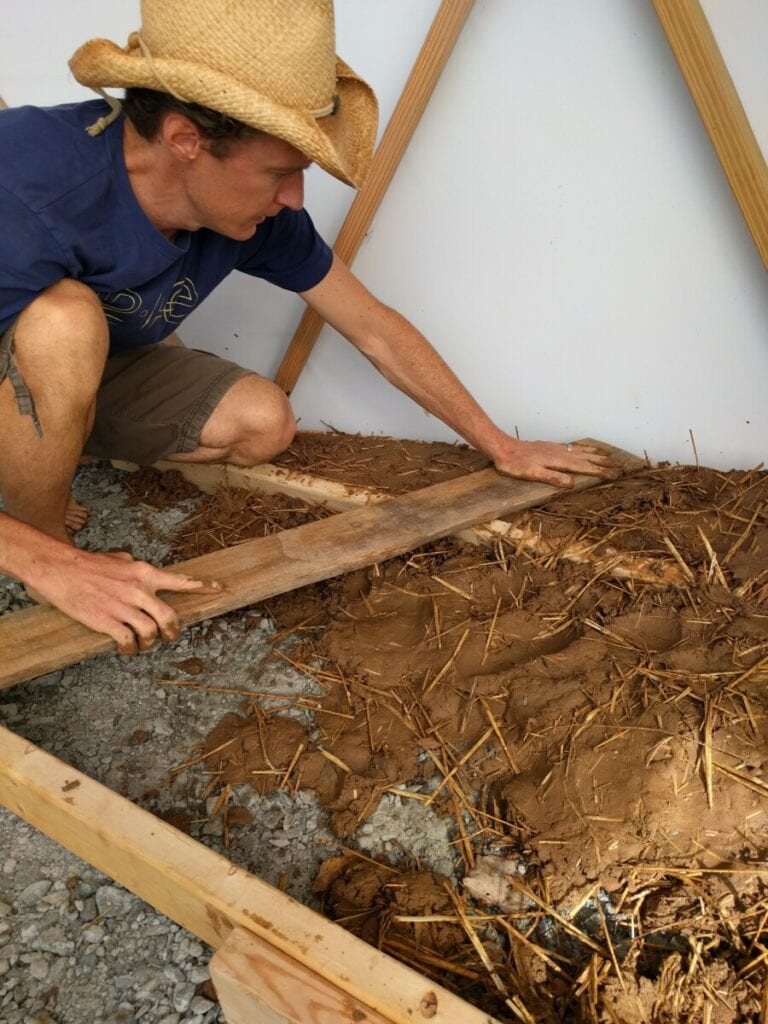
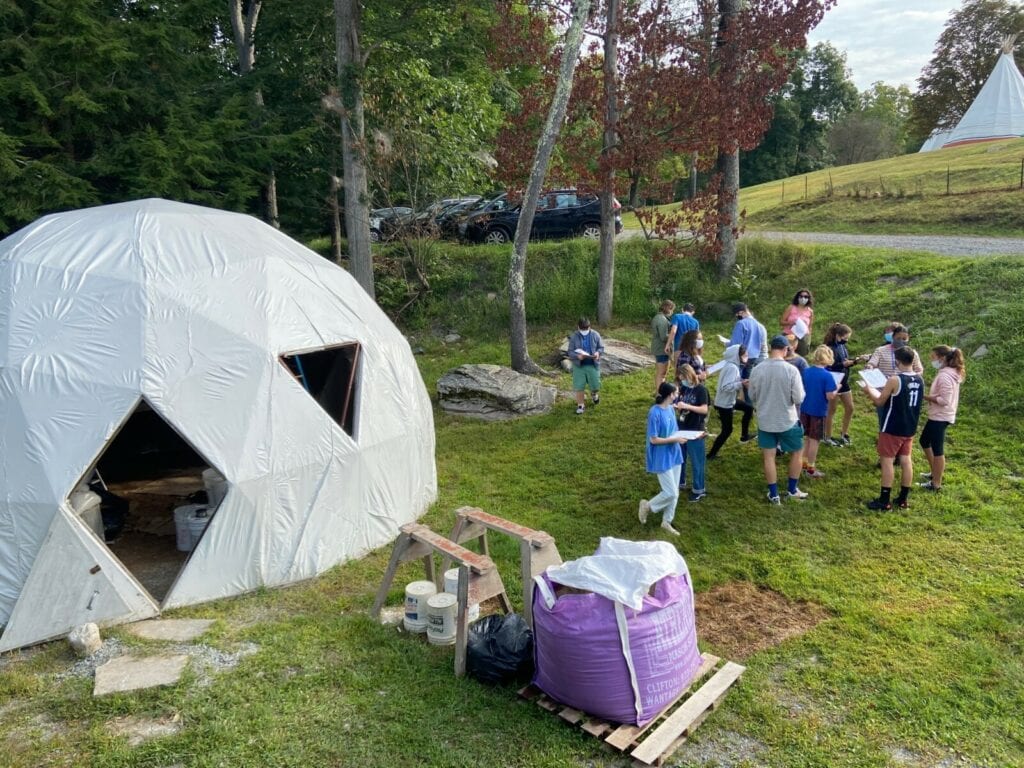
Tom & Natalie: In early 2019, the middle school class began removing the cob floor added by the 6th, 7th, and 8th graders in 2016. We started by using shovels to dig out the cob floor. Cob is a material made with clay, sand, straw, and water mixed together. The students created many different and unique ways of removing the hard floor. One of the most popular was when the students would dig the shovel into the ground and jump on the shovel to remove the cob. The project lasted many sessions. It was tough, and at a point, we felt like giving up, but once we were finished we felt very accomplished and proud. The hard work of the previous students in gathering and mixing all that cob will not go to waste. The cob is being stored in a tarped pile outside of the dome and will be transformed into a beautiful heated bench in the spring!

Fall of 2020 – Major Renovations!
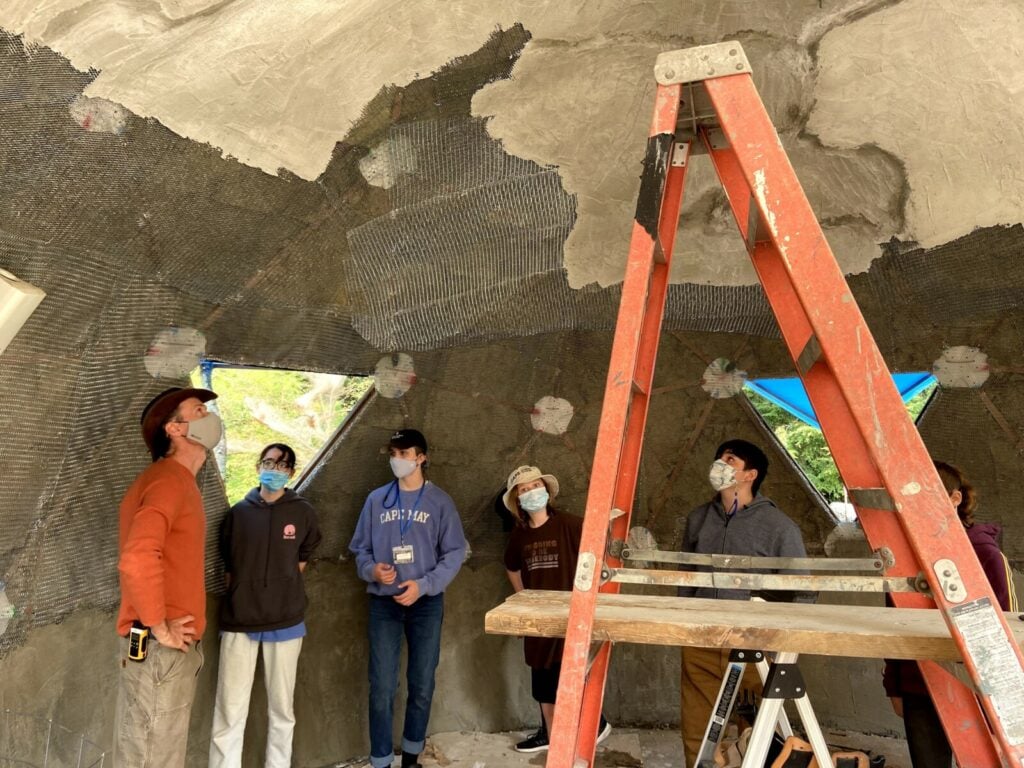
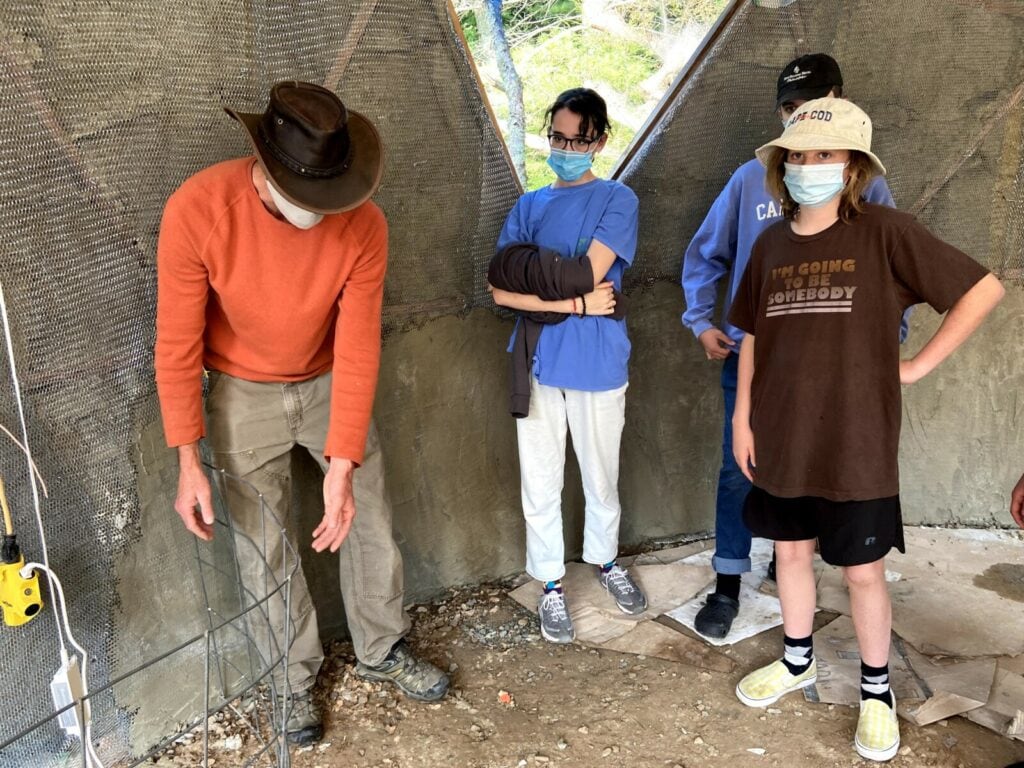
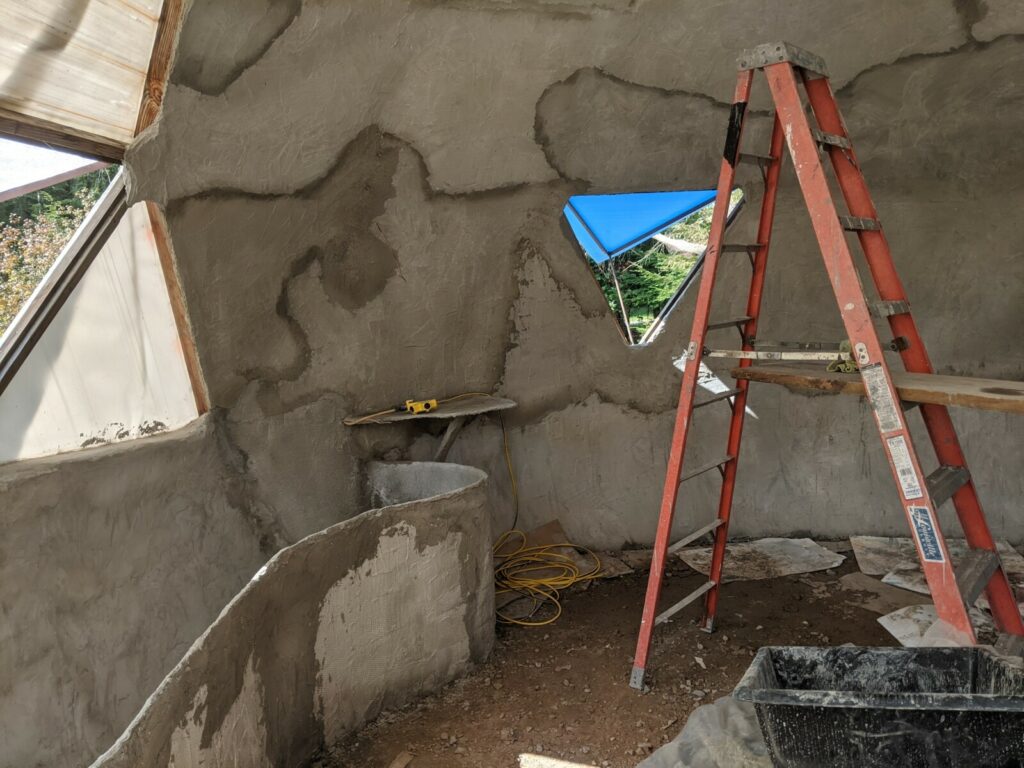
Thomas: Students prepare for the ferrocement interior wall. The north-facing ⅔ of the dome has been insulated with rockwool and 2 layers of metal lathing has been attached to the 2×4 struts in preparation for the 1st cement coat. The ceiling shows what a finished 1st coat looks like.
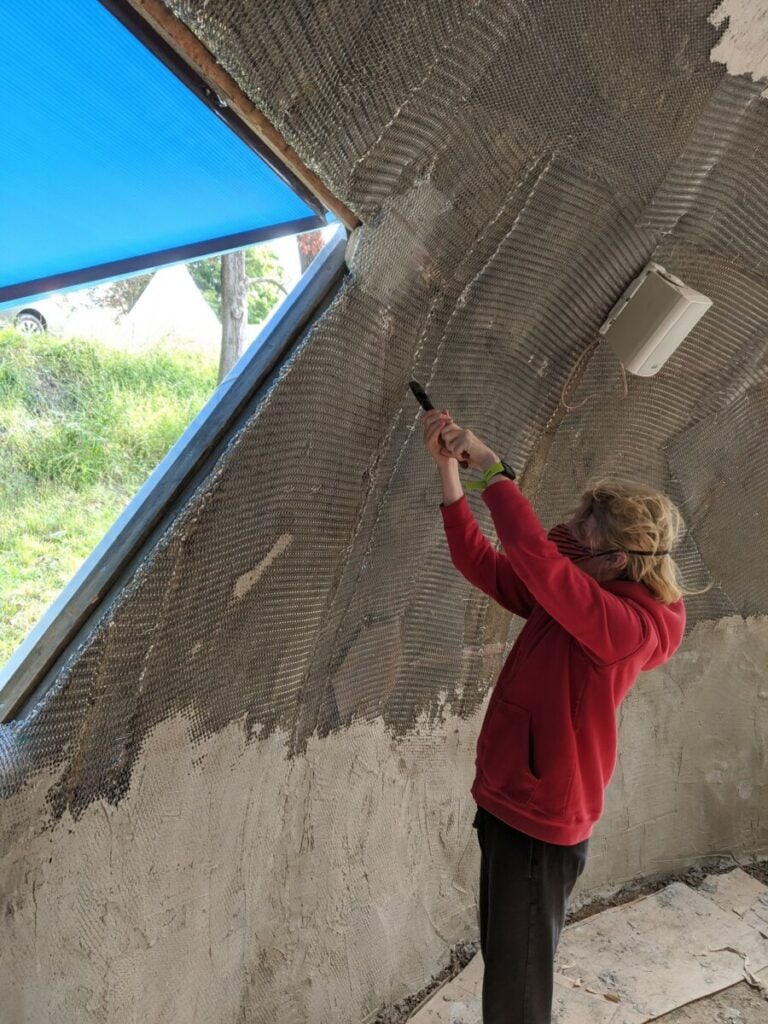
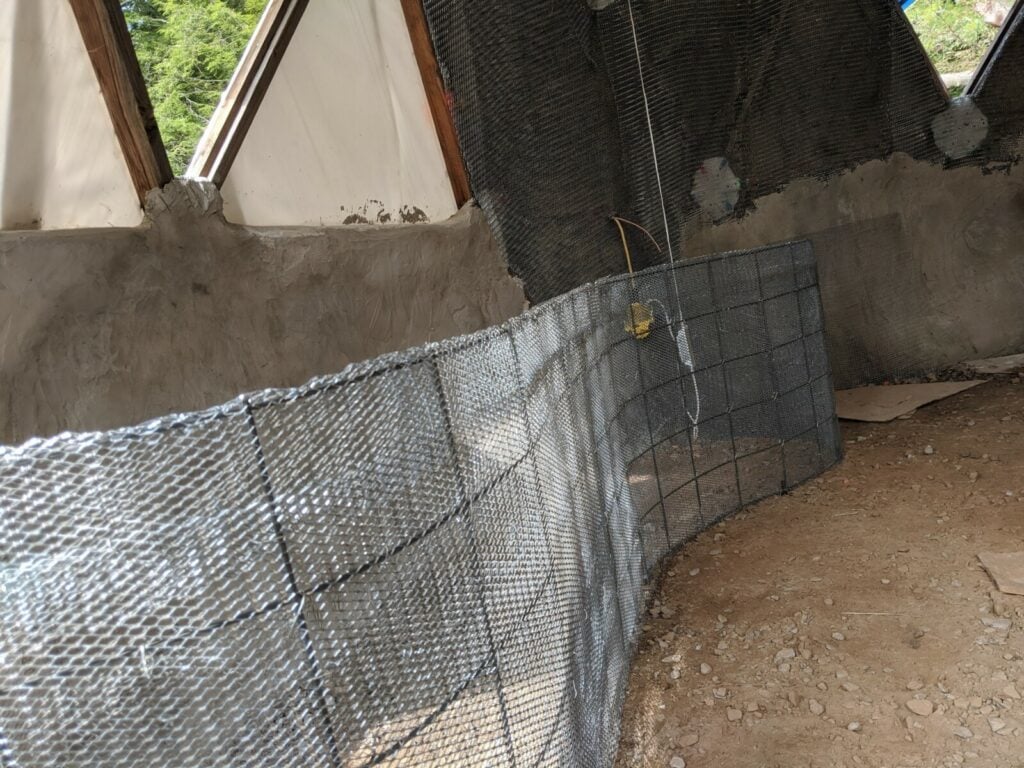
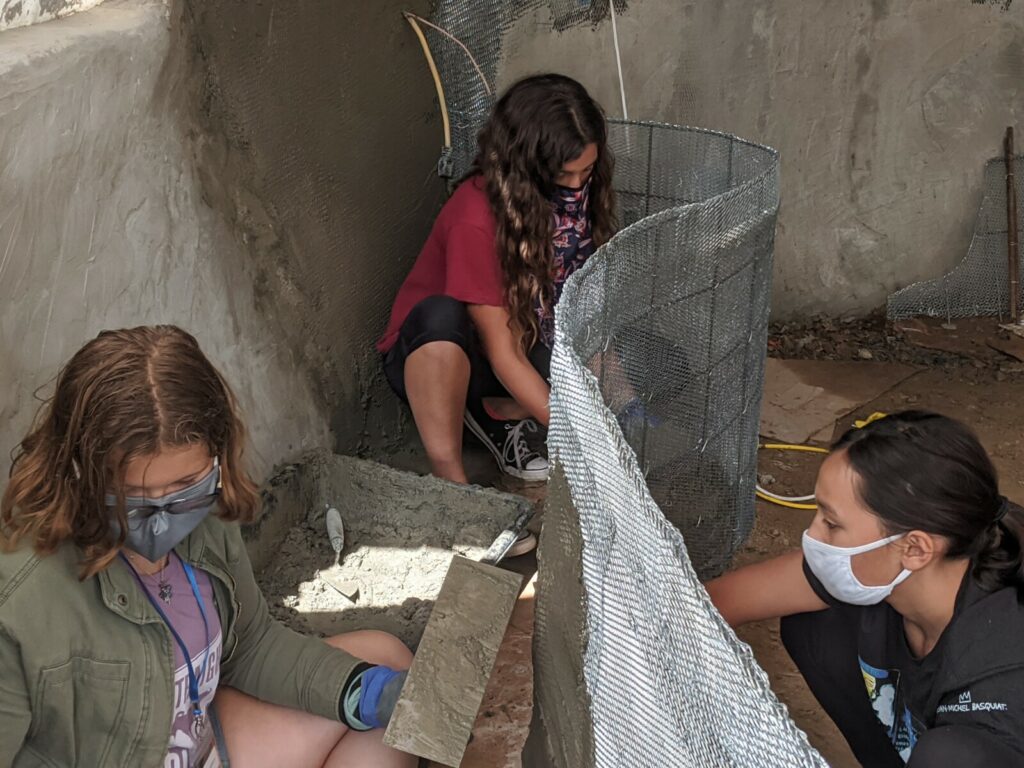
The mesh was added to the dome in two layers to better grab the cement plaster. These layers had to be smooth and tight so that when we put the plaster on it would stick and only need a thin coat. So to do this we took steel wire and looked for places where the mesh layers were separated. Then, we looped the wire through both layers of the mesh and twisted it tight together and finally trimmed the wire down so it didn’t cause a bump. The picture below is an example of this.
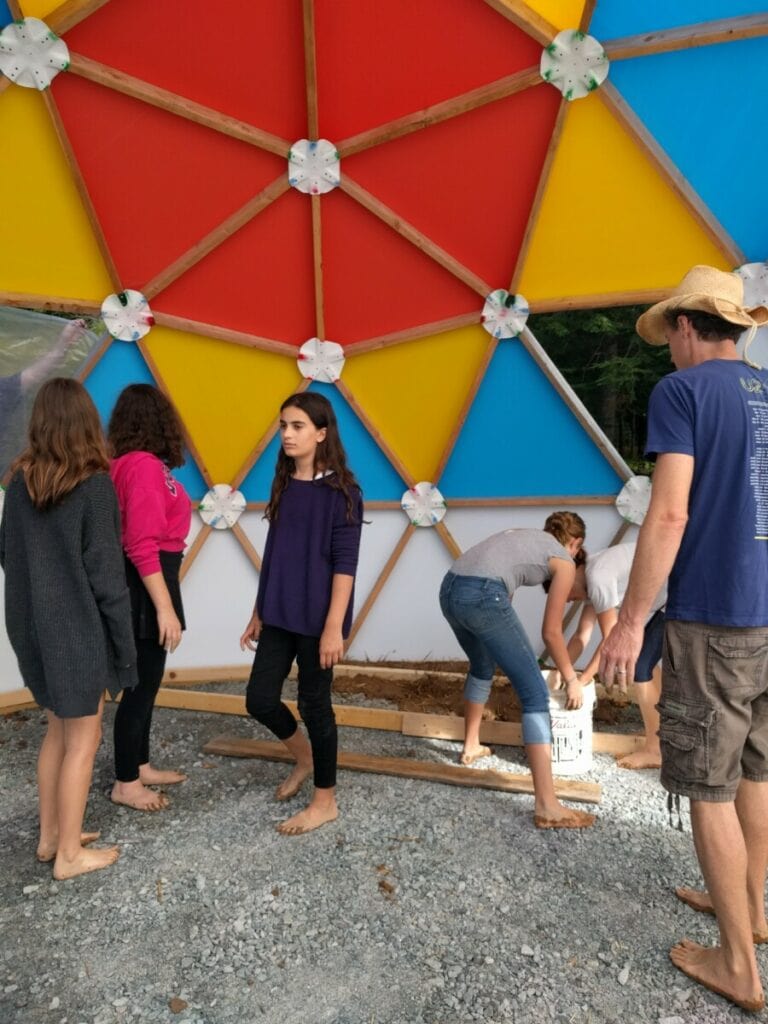
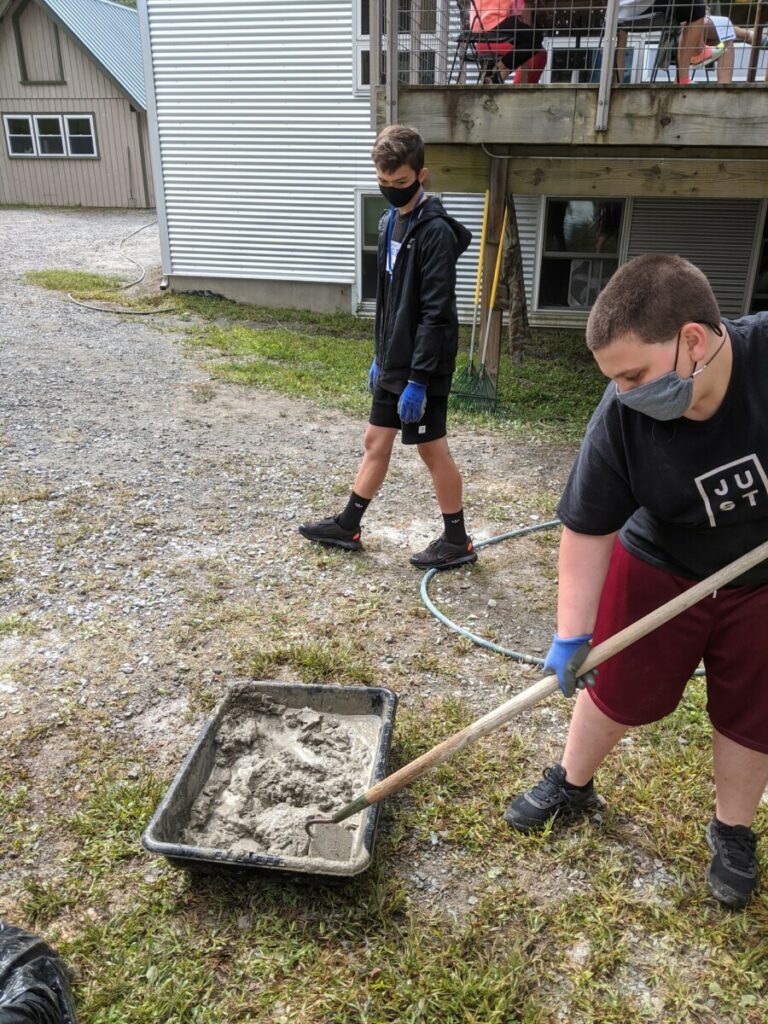
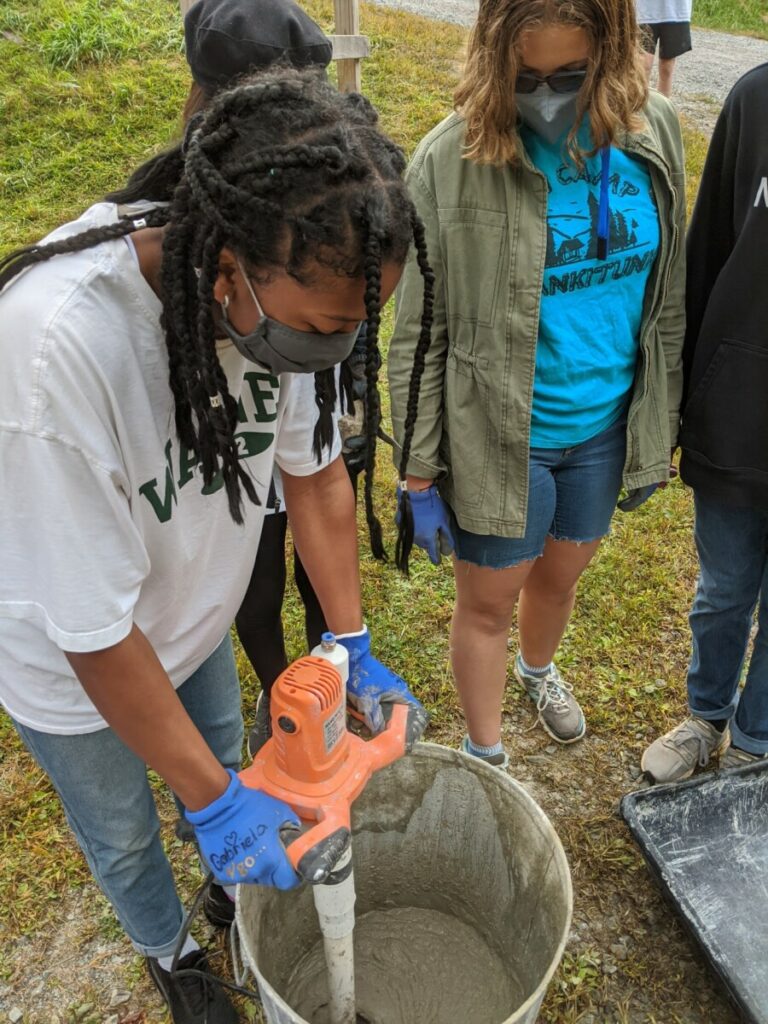
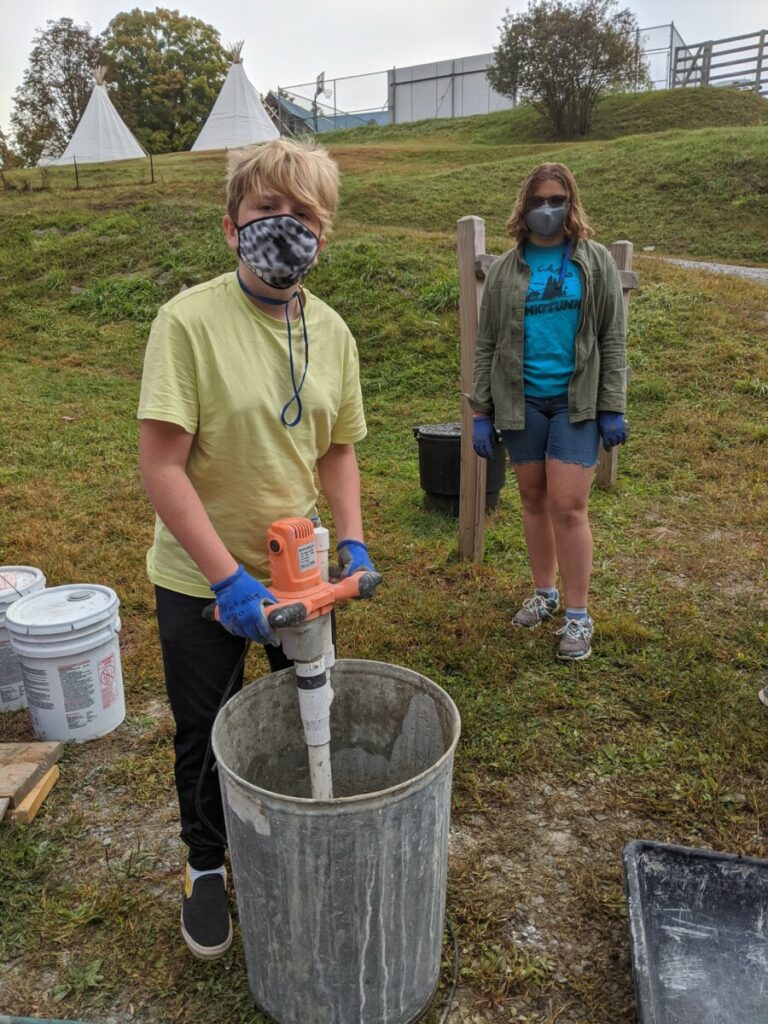
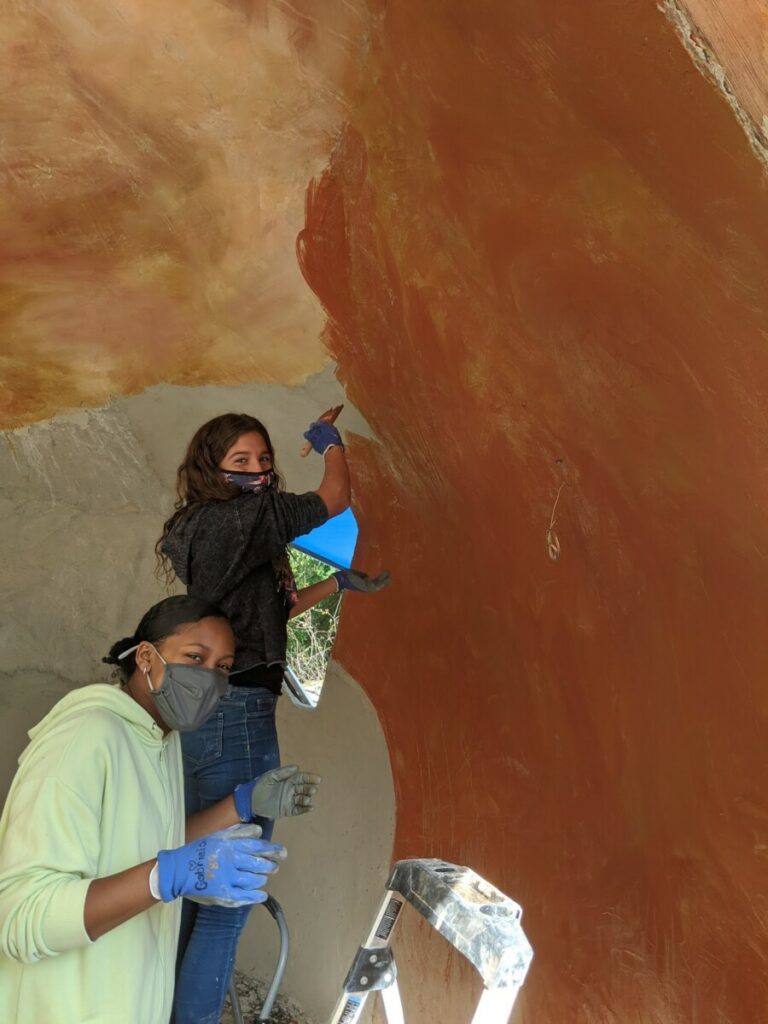
Aly: Over multiple days we mixed cement batches to cover the wired walls of the dome. The batches were made up of 1 part sand to 1 part portland cement with ½ part lime putty added for workability. We mixed bigger batches in a standard metal trash can with a portable electric hand mixer, and smaller batches in the plastic mixing tubs with a hoe, as shown in the picture. This mix is what is inside the dome, separating the wood, insulation and wire from the inside of the dome, therefore trapping heat.
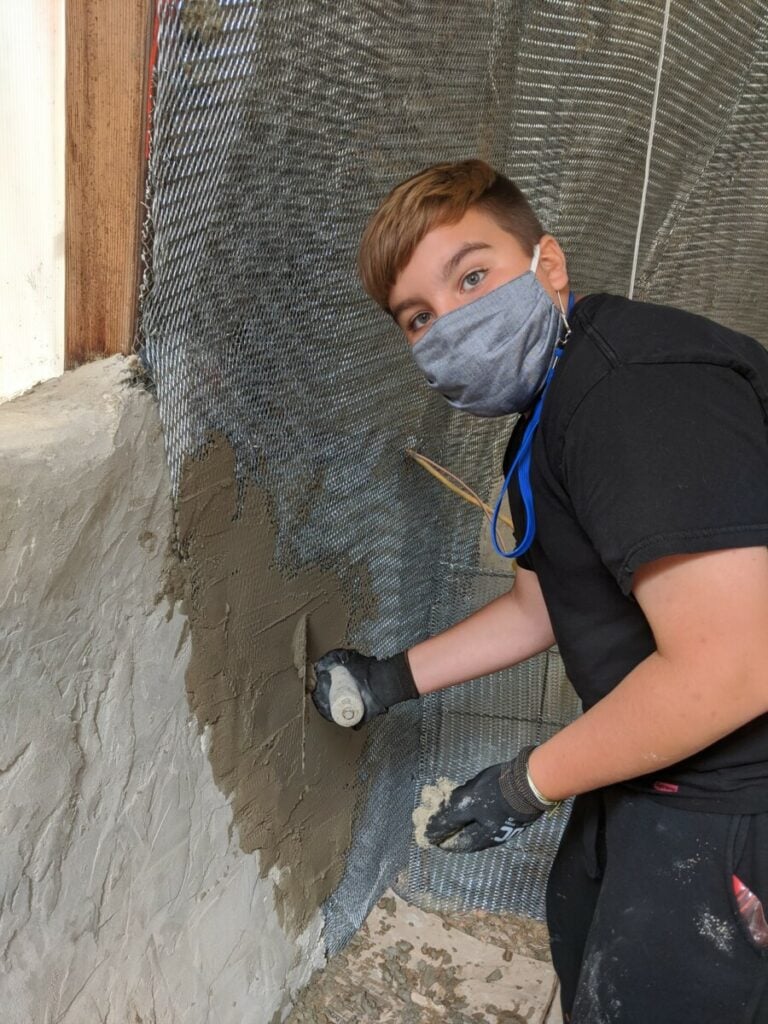
Marcello & Quyen: The wiring stage took us 1-2 weeks to finish, and the plastering took us 2-3 weeks to complete. We started with the first layer of cement plaster then we did a finishing coat of lime plaster. The first layer took the longest to complete. After we were done we had to go in with one last layer to smooth it out which our teacher Jack did with the lime plaster.
Building a Raised Greenhouse Bed
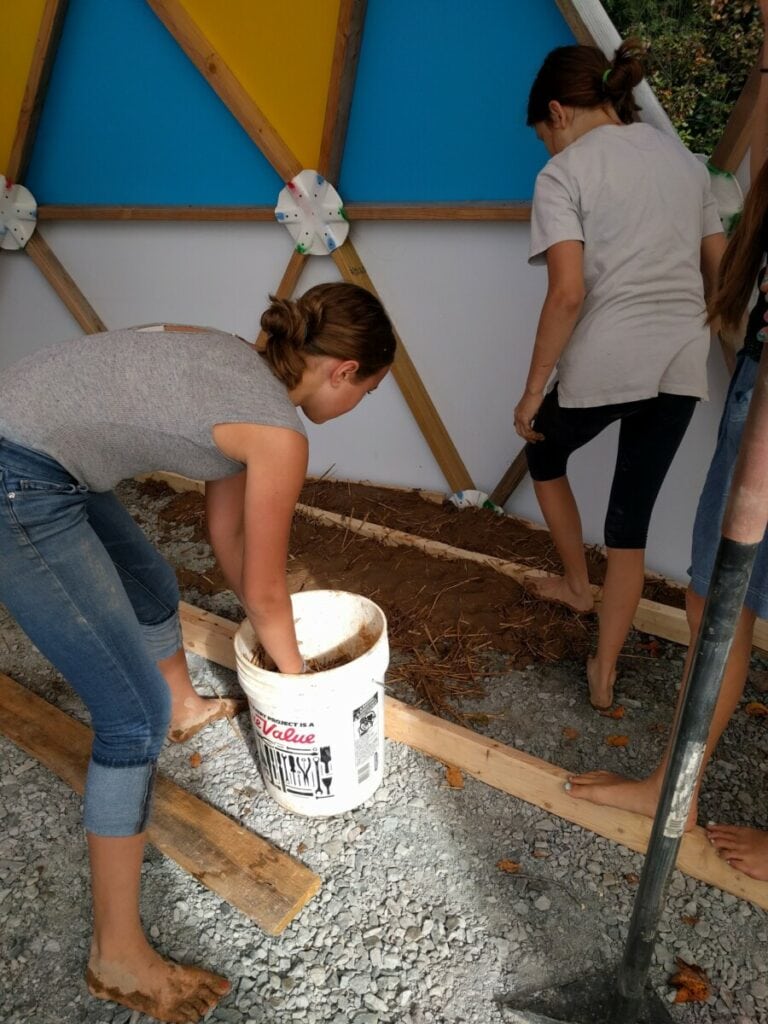
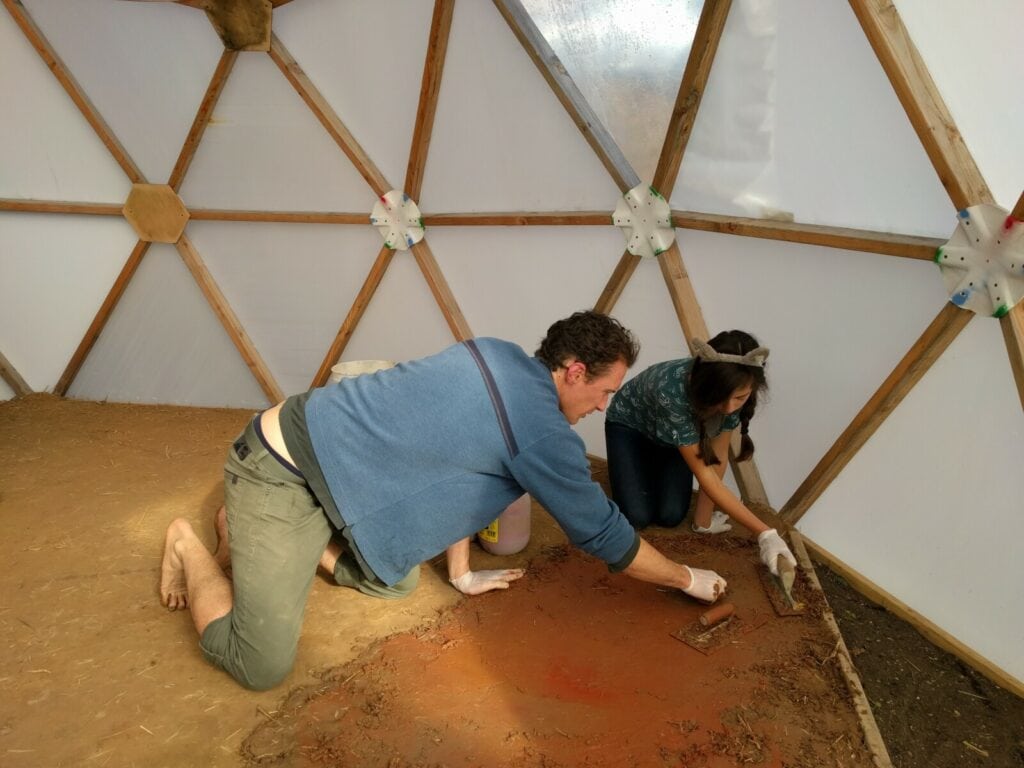
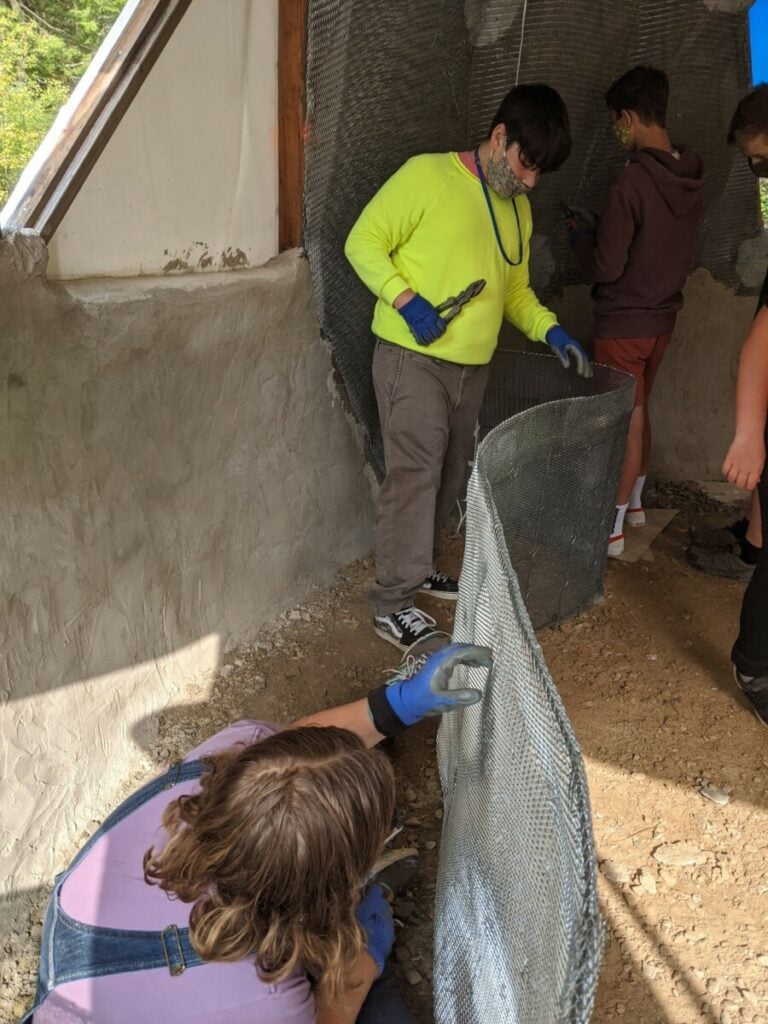
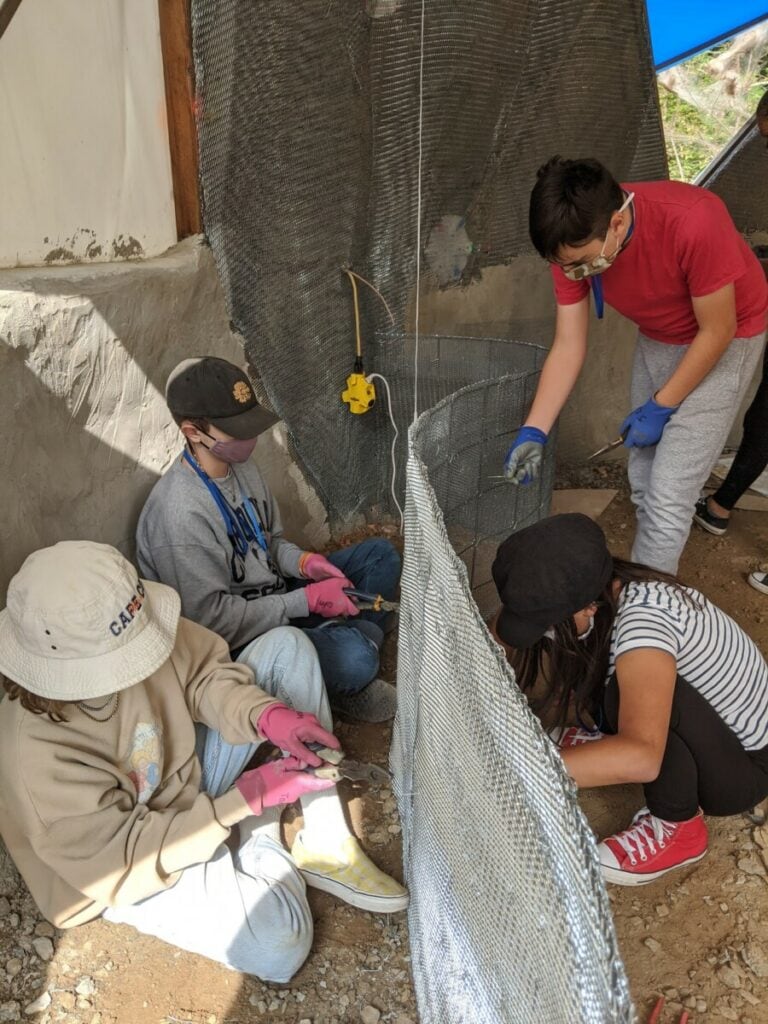
Baylie & Demetra: Our first step in constructing a ferrocement garden bed was to take a big piece of hog panel and form it into the shape we wanted so the shape would fit. Then once we got the right shape we wired it into place. After that, we tied lath to both sides of the hog panel using little pieces of wire. Once the hog panel and the lath was secured we made a quantity of cement plaster and troweled that on. Once the plaster dried we added a final finish coat, and finally, colored it with pigment.
From wiring to plastering – the middle schoolers hard at work.
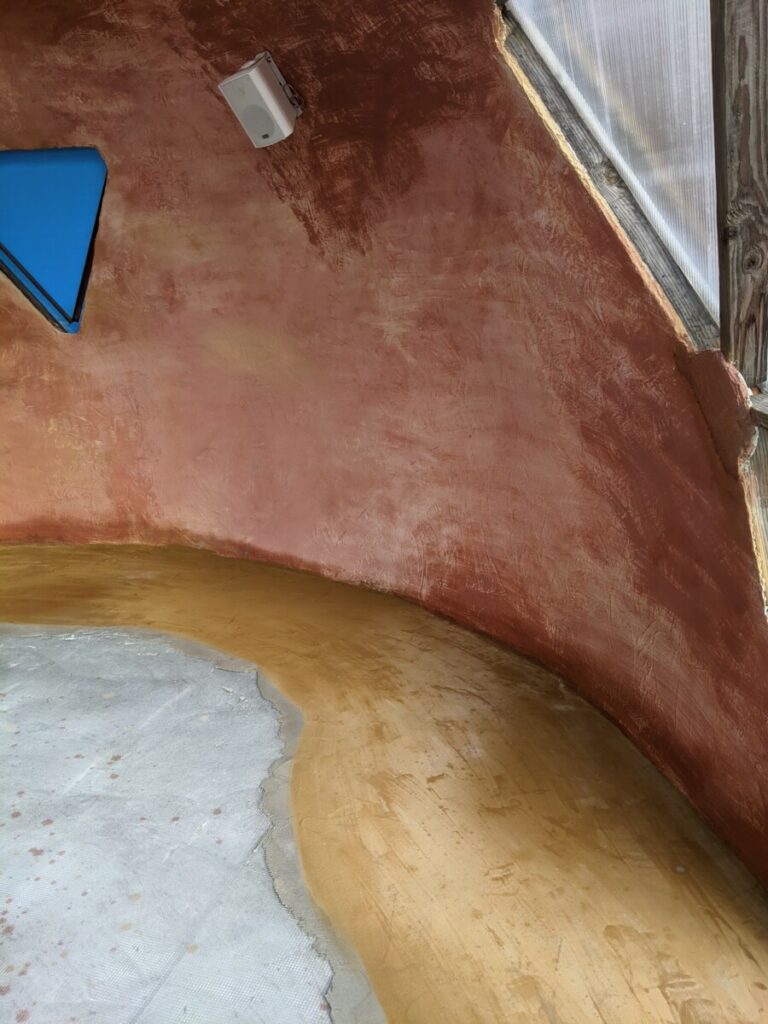
The Final Lime Plaster Coat!
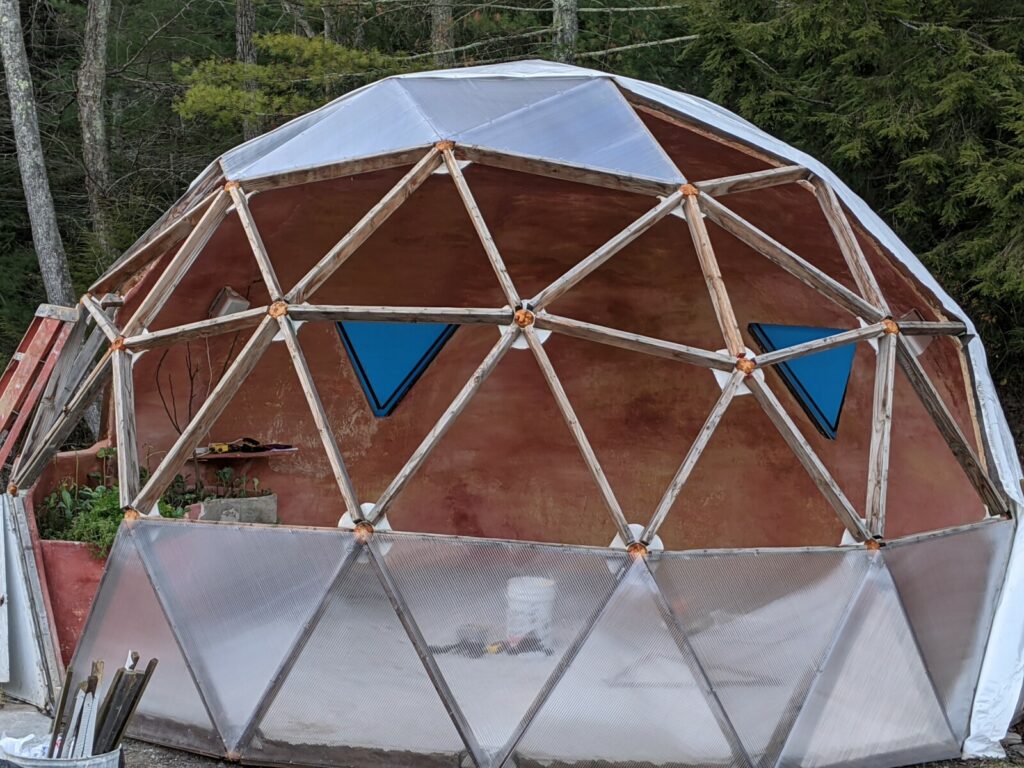
Axel: With the final coat, we were able to cover more wall more quickly, so Jack taught us how to use the mixer to make bigger batches of lime plaster. Our plaster was made of 2 1/2 parts sand to 1 part lime putty to a 1/2 part portland cement. The mixer was hard to control but was manageable. It was fun but you had to make sure none of the mix splashed on you. The mix was then moved into the dome and we spread it on the wall. Once it hardens we coat it with a lime and pigment mix which gives it that red color you can see inside the dome.
Gabby: After each section of the dome got its final lime plaster coat we mixed pigment and applied it with a paint brush, then let it dry. Painting the dome was a lot of fun mostly because I got to mix colors and paint with my friend Baylie.
Prepping the Raised Bed & Planting
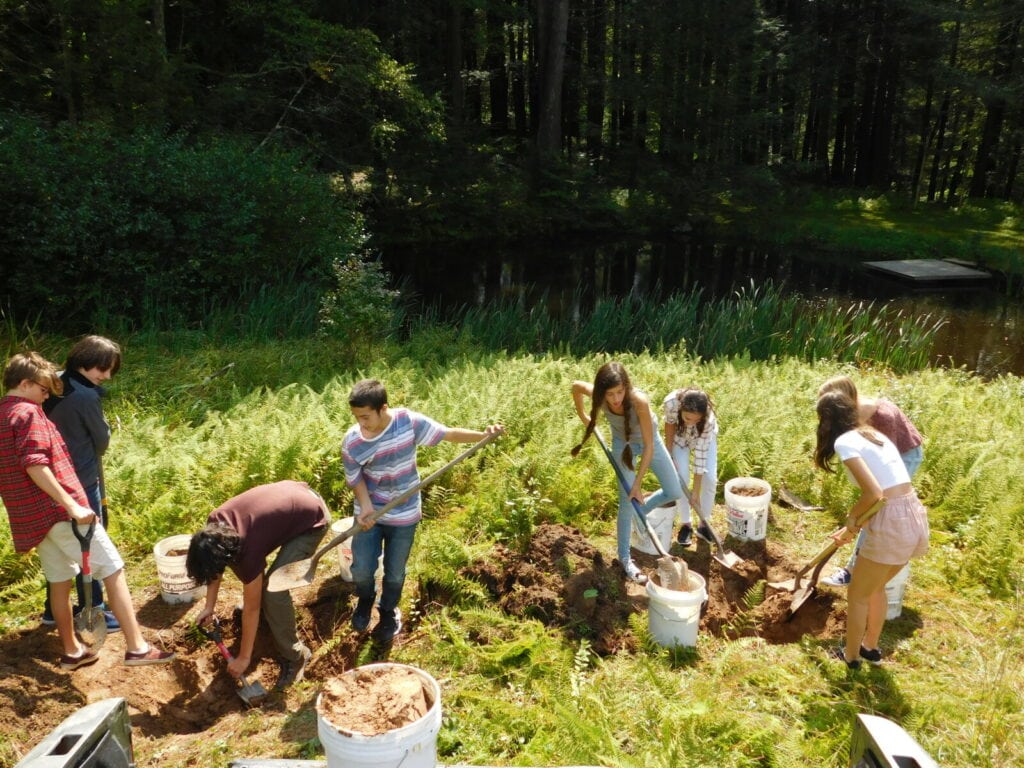
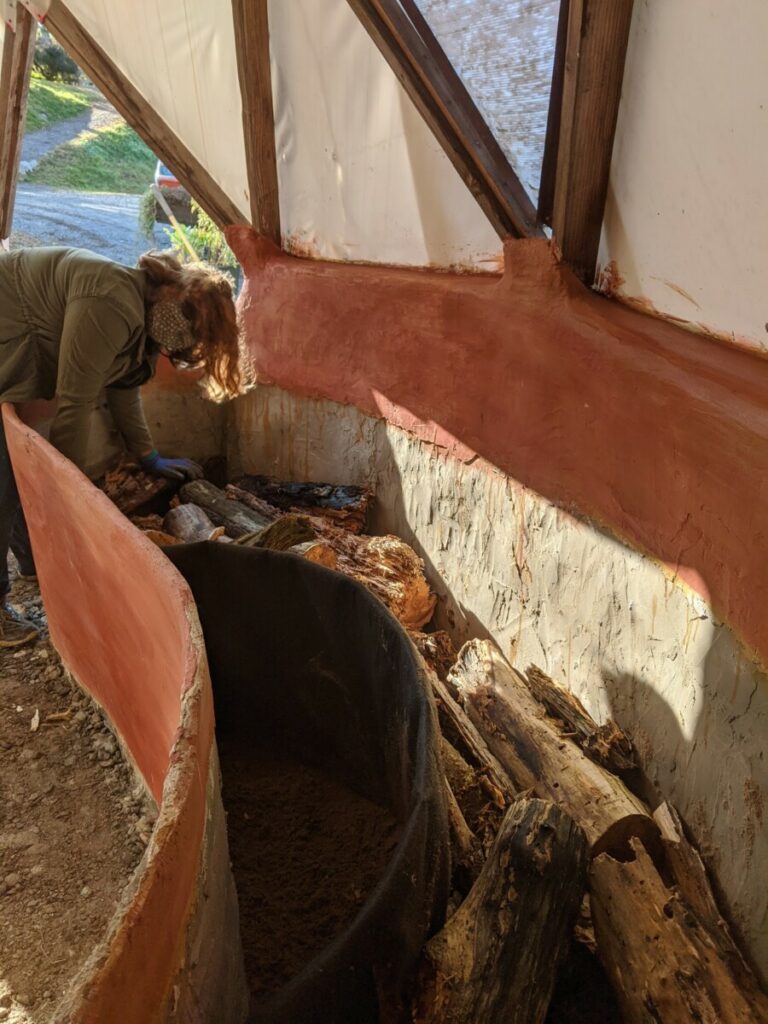
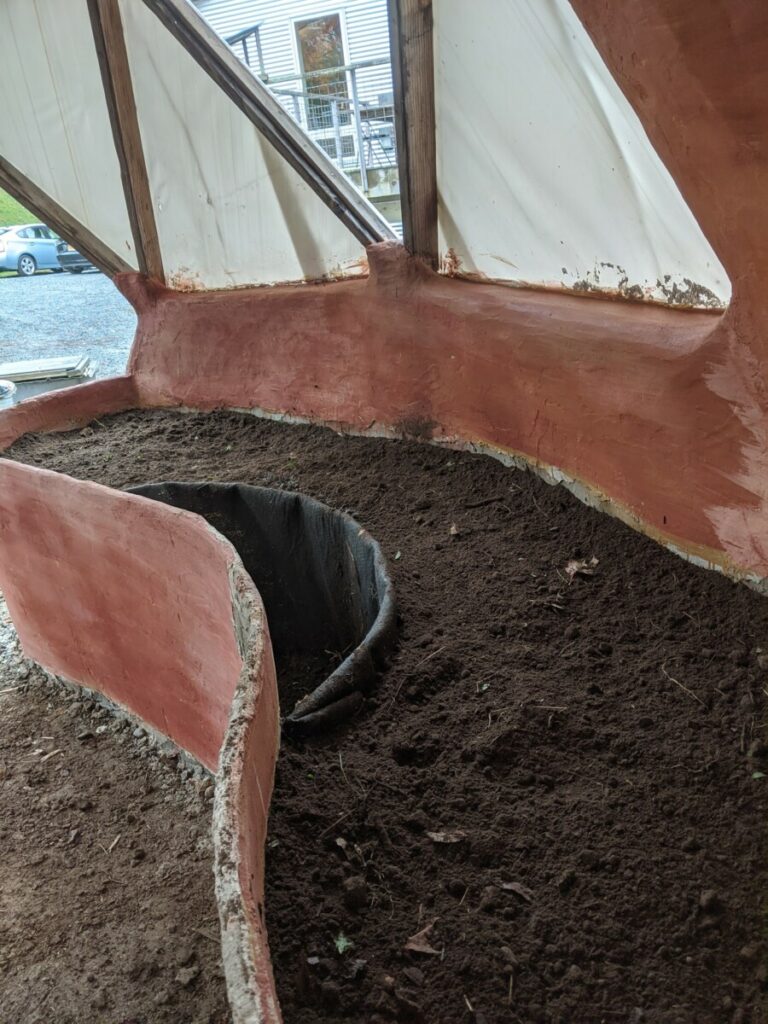
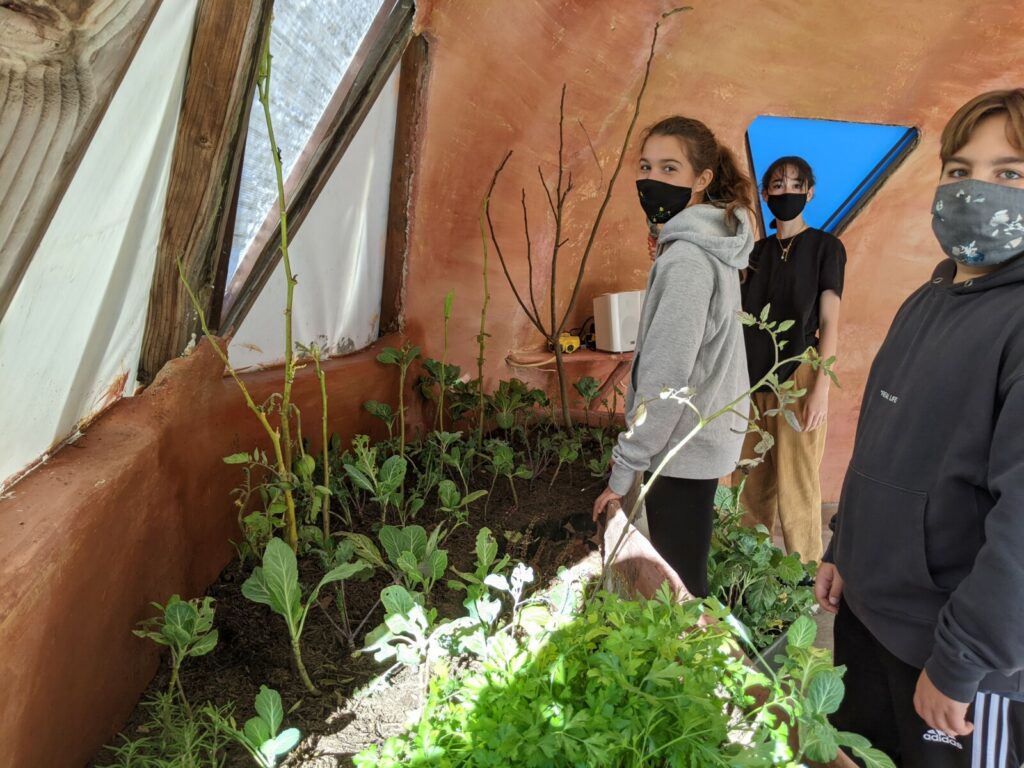
Jack & Henry: With the walls all painted we needed to fill the raised bed so we could give some container plants a home before the nights got too cold. Our first step was to move decomposing logs to the bed in the dome. I was happy to do it because it was more fun than plastering or painting, so I immediately went to the biggest log I saw and took it to the dome. We put worm filled compost and topsoil in the garden bed and then we planted parsley, oregano, kale, collard greens, and a black fig tree.
Jack Comstock: Not Just A Raised Bed!
Using a scrap of hog panel and lining it with thick fabric cloth our vermicomposter was ready to receive its payload of worms. The students gathered partially decomposed logs from the nearby forest to layer the bottom half of the raised bed. This hugelkultur approach will help store water to lessen the need for watering and will help aerate the soil and provide a continuous source of carbon as the logs further decompose. The logs will also help innoculate the soil with their fungal inhabitants contributing to a healthy mycorrhiza that will especially benefit the black fig that is planted in the bed.
On top of this woody layer the students volunteered me to spread out a layer of bokashi and biochar that were brewed up by the students the previous year during permaculture class. The students used the lactobacillus from the kombucha they were brewing in class and purple non-sulfur bacteria from the rich wormcastings in the biodome’s vermicompost system to brew up an effective microrganism (EM) mix. This EM1 (first level of complexity) was then introduced into a substrate of wheat bran and biochar (that the students had made in special burn pit that they helped construct.) This mixture became an EM2 which was then used to start to digest the compost scraps that were collected during the school year through the middle schoolers awesome recycling and composting campaign. This well pickled food was a bit overwhelming to the nose, but will provide a nutrient and microbial rich and complex layer to the garden bed. The biochar provides incredible surface area as a microbial hotel in the soil, helps retain moisture, and sequesters carbon.
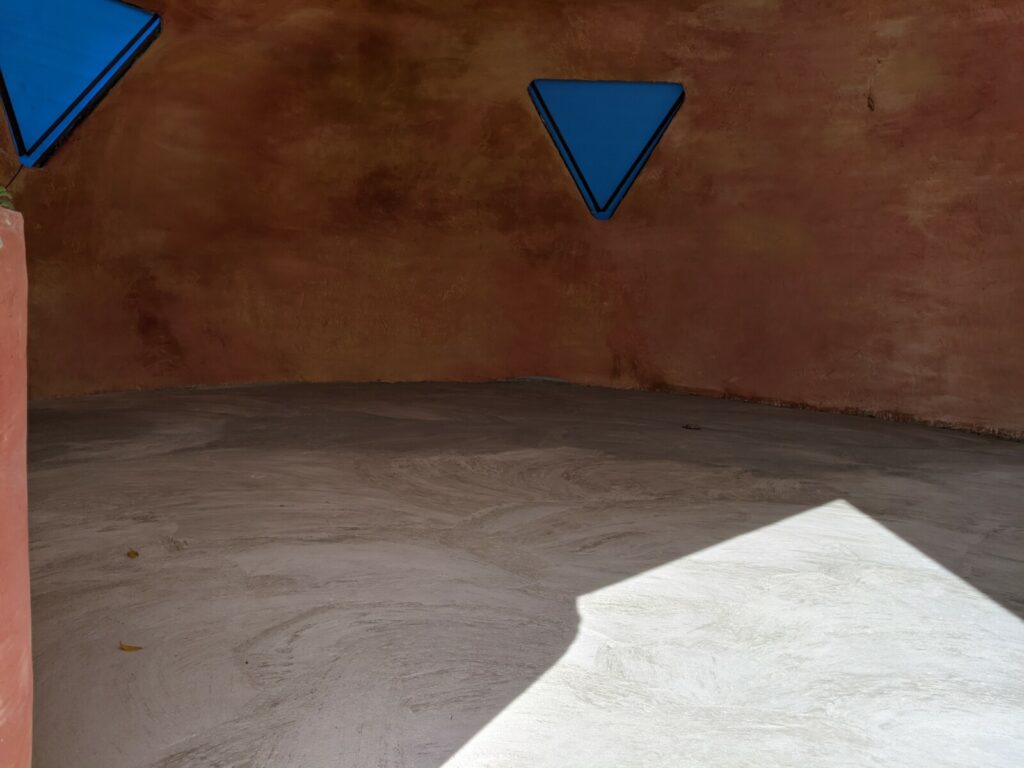
Experiment – an Aircrete Floor
Bryce: We first decided to make some aircrete because we had done some research on it and figured out that aircrete is a lot better for the environment than regular concrete. Aircrete turns a 94 lb. bag of cement into 40-50 gallons of aircrete. We started out with doing a test batch which turned out really crumbly. So we tried again but with less foam which turned out to be a lot better. After a few more tries we decided to start to pour the dome floor. Our final mix was 94 lbs. of portland cement to 6 gal. water, with a foam density of 85 grams per liter used to expand the mix to 33.75 gallons of aircrete. Jack (Comstock) was the only one who poured the floor because we would not be able to do that as a class, but we helped out with preparing the area.
The aircrete floor set up nicely. Had this not been a renovation we would have poured a thicker slab of aircrete. We only had clearance for a 2-inch slab, but are hoping that a wire mesh skin and a final lime, cement finish layer will give us the durability we are hoping for. Our final layer was 3 1/2 parts sand to 1 part cement to 1 part lime putty.
The dome serves the purpose of a green building learning lab, so we are excited to see how our experimentation pans out and are open to learning from our mistakes.
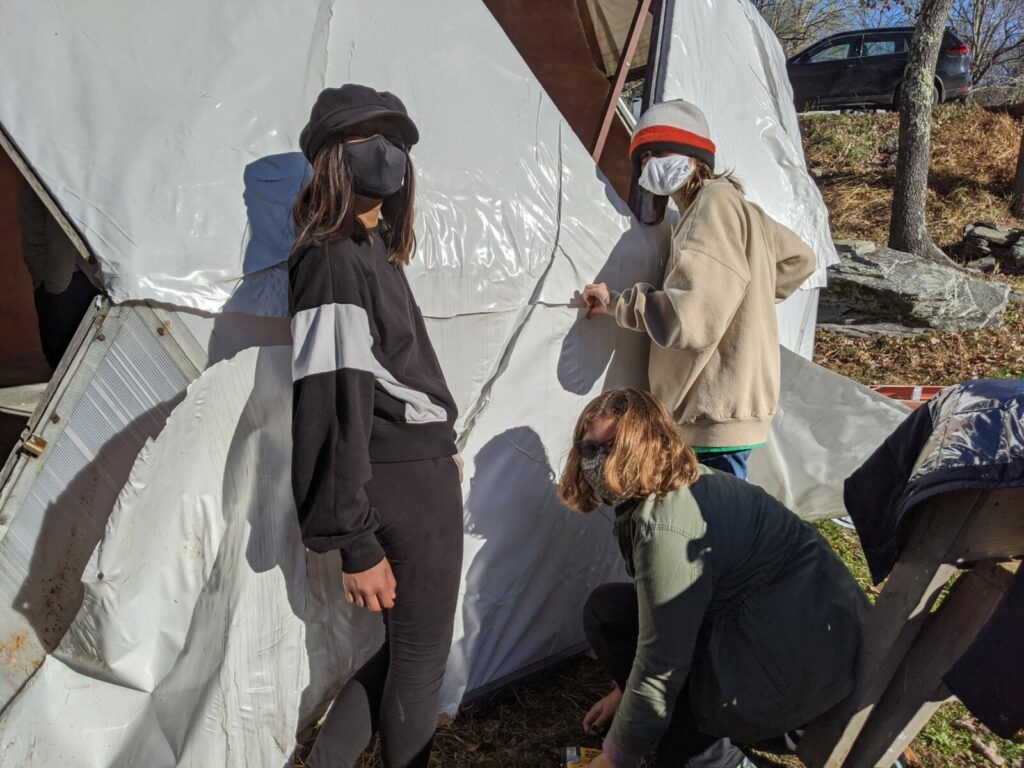
A New Polycarbonate Skin
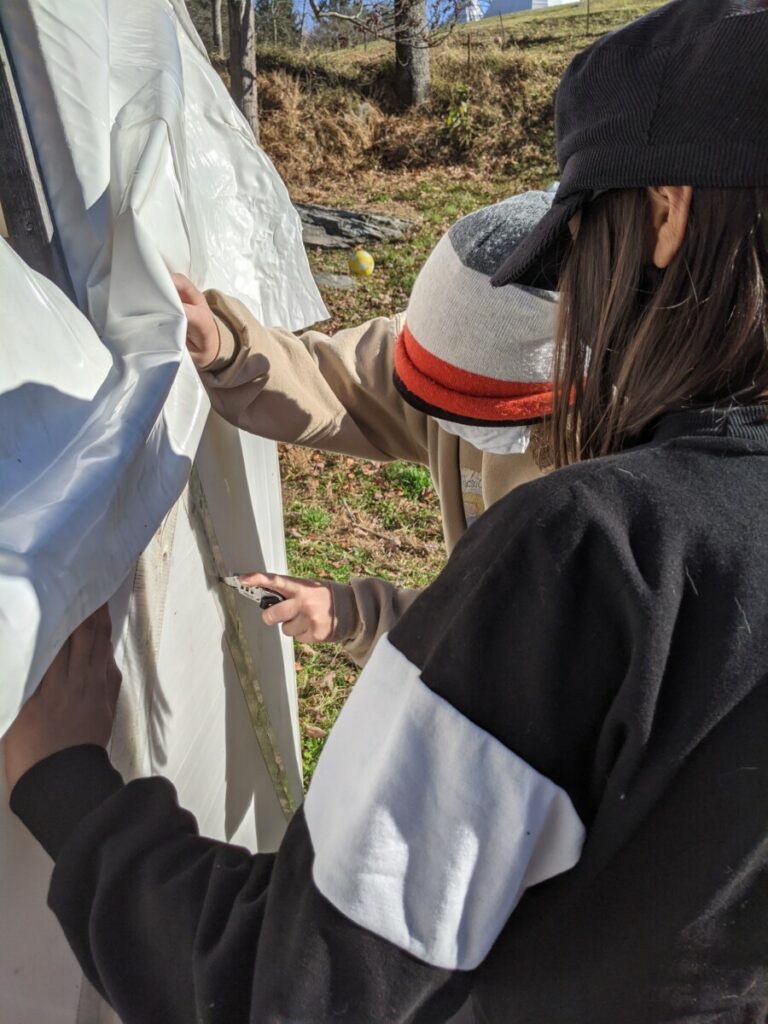
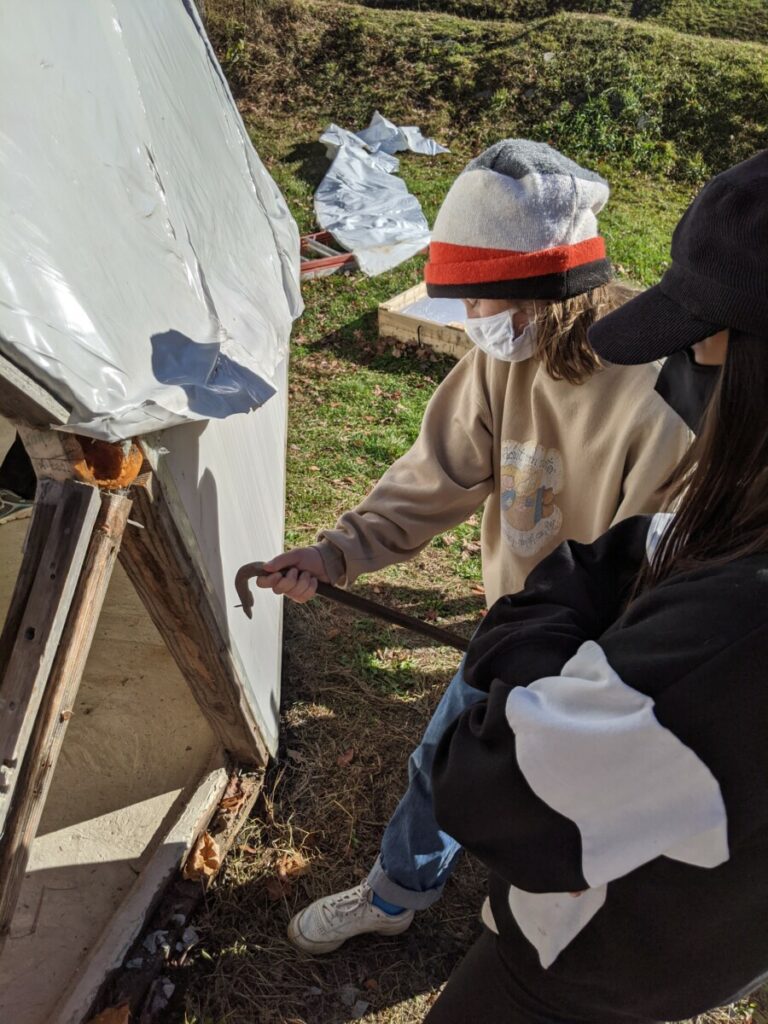
Jaxon: First we removed all the plastic off the exterior of the dome. Underneath the plastic were a bunch of triangular corrugated plastic panels, which also had to be removed. But we only had to take off the panels that were on the south and east side, which drew in the most sunlight. We then replaced all of those with polycarbonate panels. The polycarbonate panels are double layered and have pockets in between, which act as a form of insulation. They will keep the dome very warm and we are also going to make the door out of two polycarbonate panels.
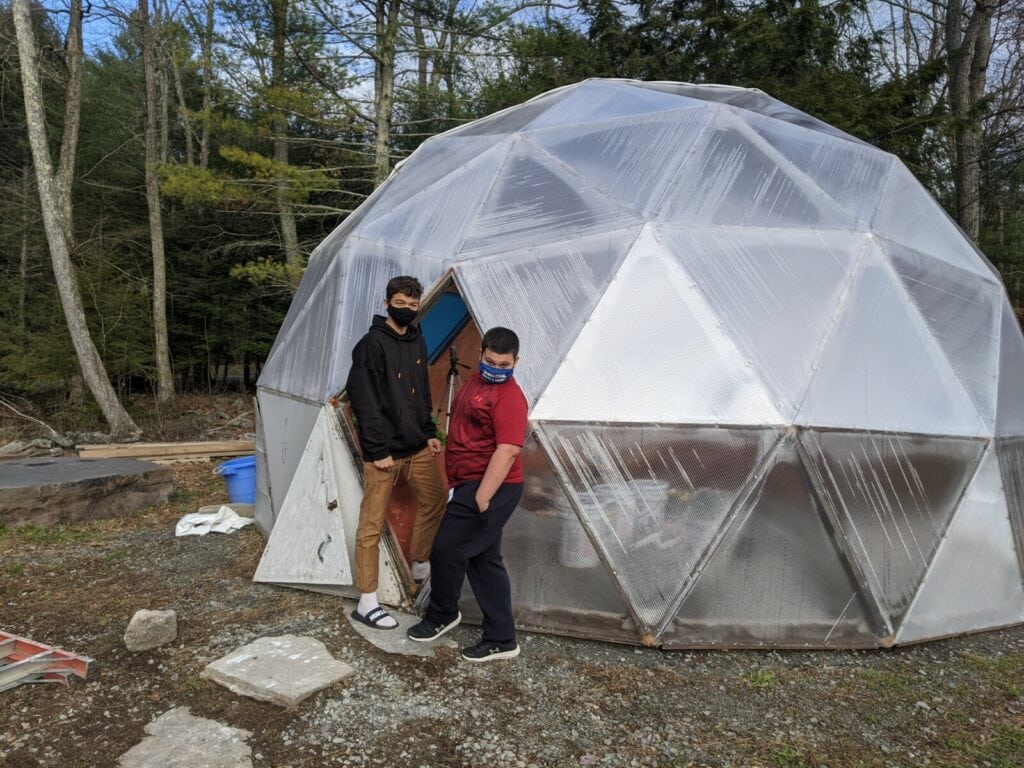

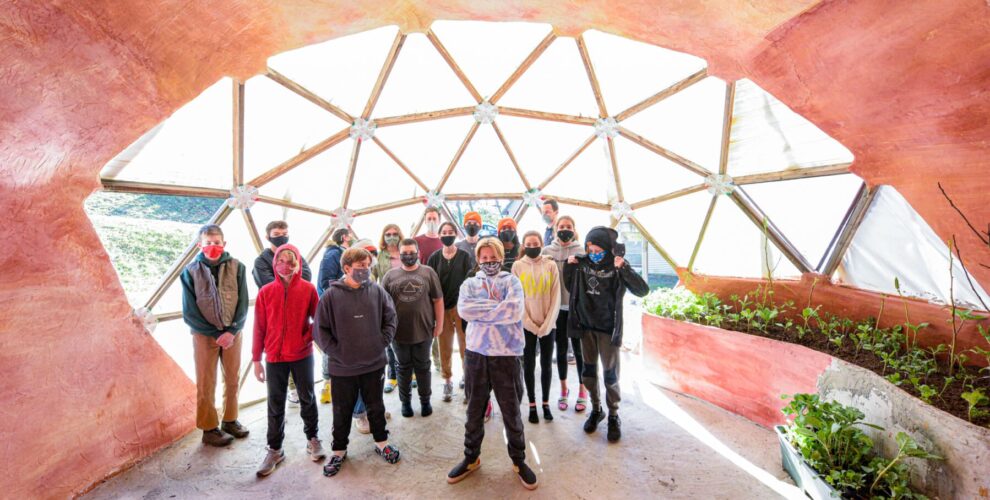
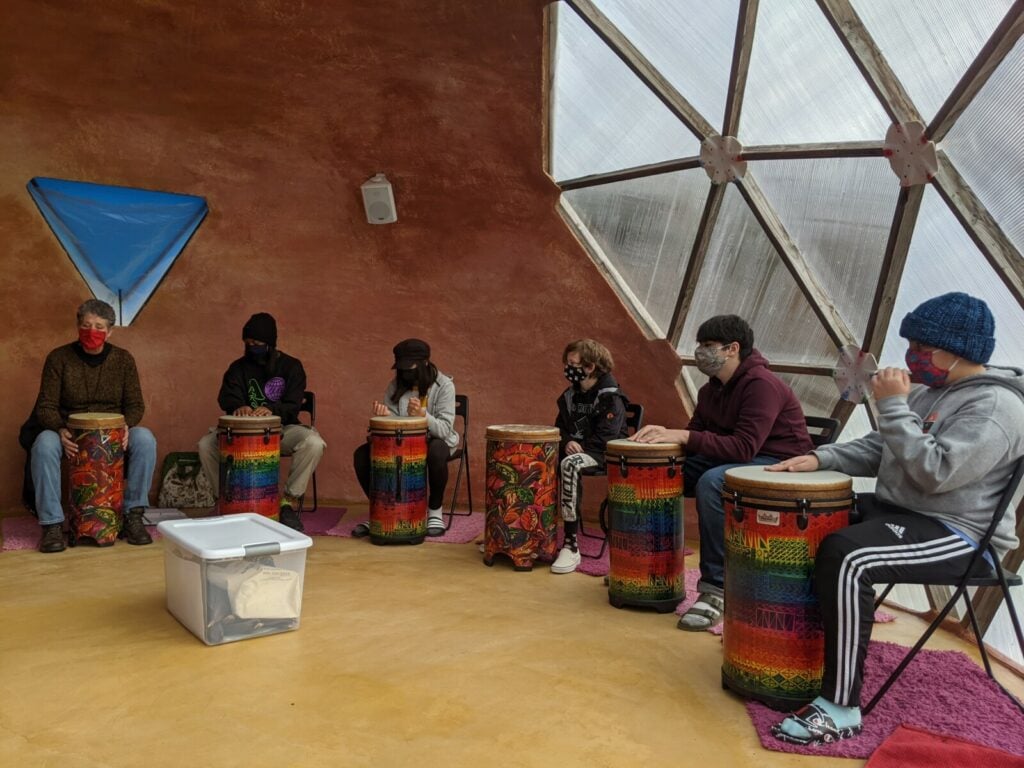
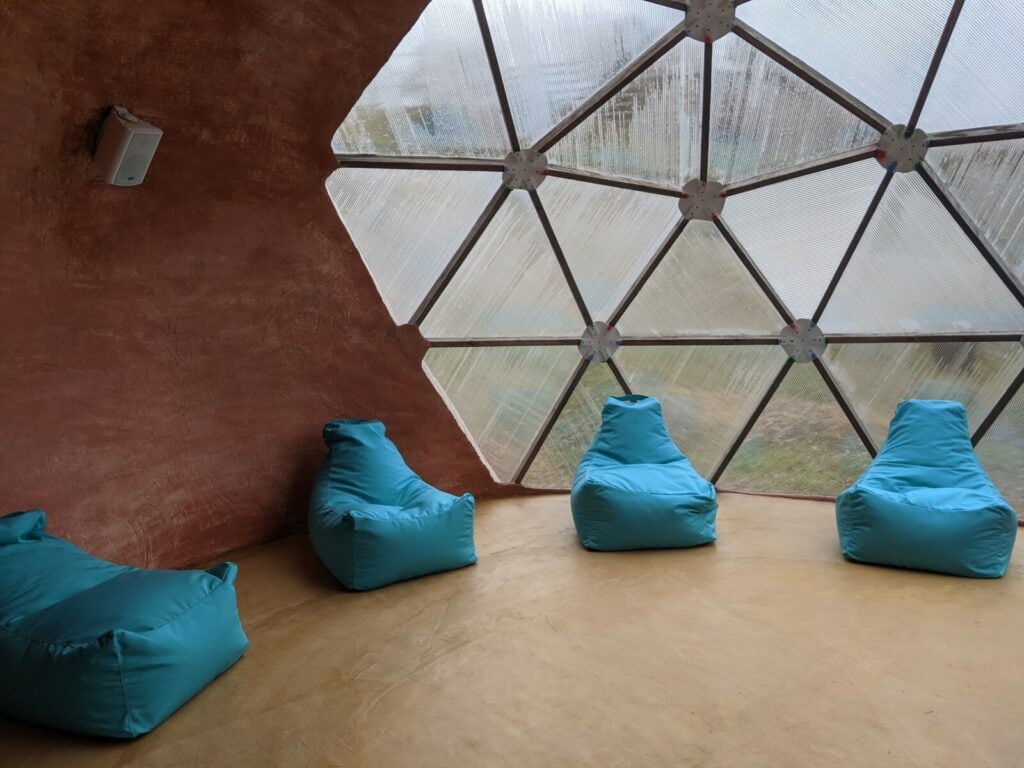
Time to Enjoy a Beautiful New Space!
Skye & Tom: This was a very fulfilling project to work on! This project was a lot of work but the students pulled through. Our goal was to create an eco-friendly class space where students could work and learn. This is even more necessary now with Covid-19. Having this extra space can help our students spread out and social distance more. We started this project all the way back in 2015, and we’ve come so far. The students are excited to be using this new workspace!
What an awesome exploration of green building techniques! Thank you to Catskill Mountainkeeper and The Center For Discovery for the amazing Climate Lab Grant that made all of this possible! Thank you to the Middle Schoolers for their hard work and vision! What a beautiful addition to the Homestead campus and what a timely completion to allow the Middle School students a warm, bright place to learn as we do our very best to thrive during Covid!
Here it is! A time-lapse video of this year’s renovations...
Holy smokes!!!! Incredible work!!! High fives all around!!!
I want my own Geodesic dome. My Brother had R Buckmister Fuller as a Professor at Southern Illinois University in the sixties. The students did an excellent job and with their passion make me want to have my own dome.